- Services
- Case Studies
- Technologies
- NextJs development
- Flutter development
- NodeJs development
- ReactJs development
- About
- Contact
- Tools
- Blogs
- FAQ
Learn CSS animation with Moodeng interactive UI
You'll have the skills to create engaging, interactive elements that bring your websites to life.
CSS properties that will make your website come alive
Front-end developers must learn CSS animation to create engaging websites. It works with HTML to make buttons, menus, and other parts of a website move and respond to users, making the site more fun and easy to use.
These are some of the UI elements that you can use CSS animation to create them
- Loading Spinners
- Skeleton loaders
- Animated Progress bar
- Animated Submit button
- Animated form input
- Animated Illustration
- Animated SVG
What you will learn today
To create your animation, you need to learn the following basics, which are covered in this article.
- How to apply animation to HTML
- Understand the keyframe attribute.
- How can I create an animation that runs continuously?
- Learn how to adjust how long the animation lasts.
- How to Play or Pause Animation with CSS
Moodeng will help you learn CSS.
We’ll use a fun, practical example featuring Moodeng, a baby hippo from Thailand, to illustrate key concepts.
By the end of this tutorial, you’ll have a solid grasp of CSS animation techniques that you can immediately apply to your front-end projects.
Run forever using HTML and CSS.
Today, we will try to make her run from left to right with CSS animation forever, so you can learn about CSS animation attributes along the way with some cute hippopotamus faces.
Learning Tips
Don’t just read – experiment! Adjust durations, modify properties, and observe how each change affects the animation. This hands-on approach will deepen your understanding of CSS animations and their impact on web application performance.
Enough talking. I will guide you from easy and basic to complex animations. Let’s start with a simple one, moving from left to right.
Moodeng Moves Left to Right
Setup Layout
Just <img src="moodeng.png"/> and put inside the <div>...</div> container and the container will needs empty space on the right for Moodeng to be appear when it’s end.
<div class="wrapper"> <div class="container"> <img class="pic" src="moodeng.png"/> </div> </div> .wrapper{ background-color: white; border-radius: 1rem; padding-right: 100px;; overflow: hidden; } .container{ width: 100%; height: 65px; position: relative; } img{ /** Size of moodeng width & height */ width: 100px; height: 65px; object-fit: contain; object-position: center; /** Making position to left of the container */ position: absolute; left:0; }Defined keyframes
To create an animation, we first need to define keyframes.
This keyframe will determine how CSS properties will be changed during the animation.
- 0% means that at start the
leftproperty will be0% - 100% means that when it’s end the
leftproperty will be100%
@keyframes moodeng_left_to_right { 0% {left: 0px;} 100% {left: 100%;} } ...Apply animation to Moodeng
Next we apply 3 important attributes to moodeng these attributes are animation-name,animation-duration and animation-iteration-count
- Set the
animation-nameto previous keyframe (moodeng_left_to_right) animation-durationto10sfor making it move for 10 secondsanimation-iteration-counttoinfiniteto make it repeat forever

@keyframes moodeng_left_to_right { 0% {left: 0px;} 100% {left: 100%;} } img{ animation-name: moodeng_left_to_right; animation-duration: 10s; animation-iteration-count: infinite; ...Animation Duration
Total time between 0% and 100% determines how fast Moodeng will move.
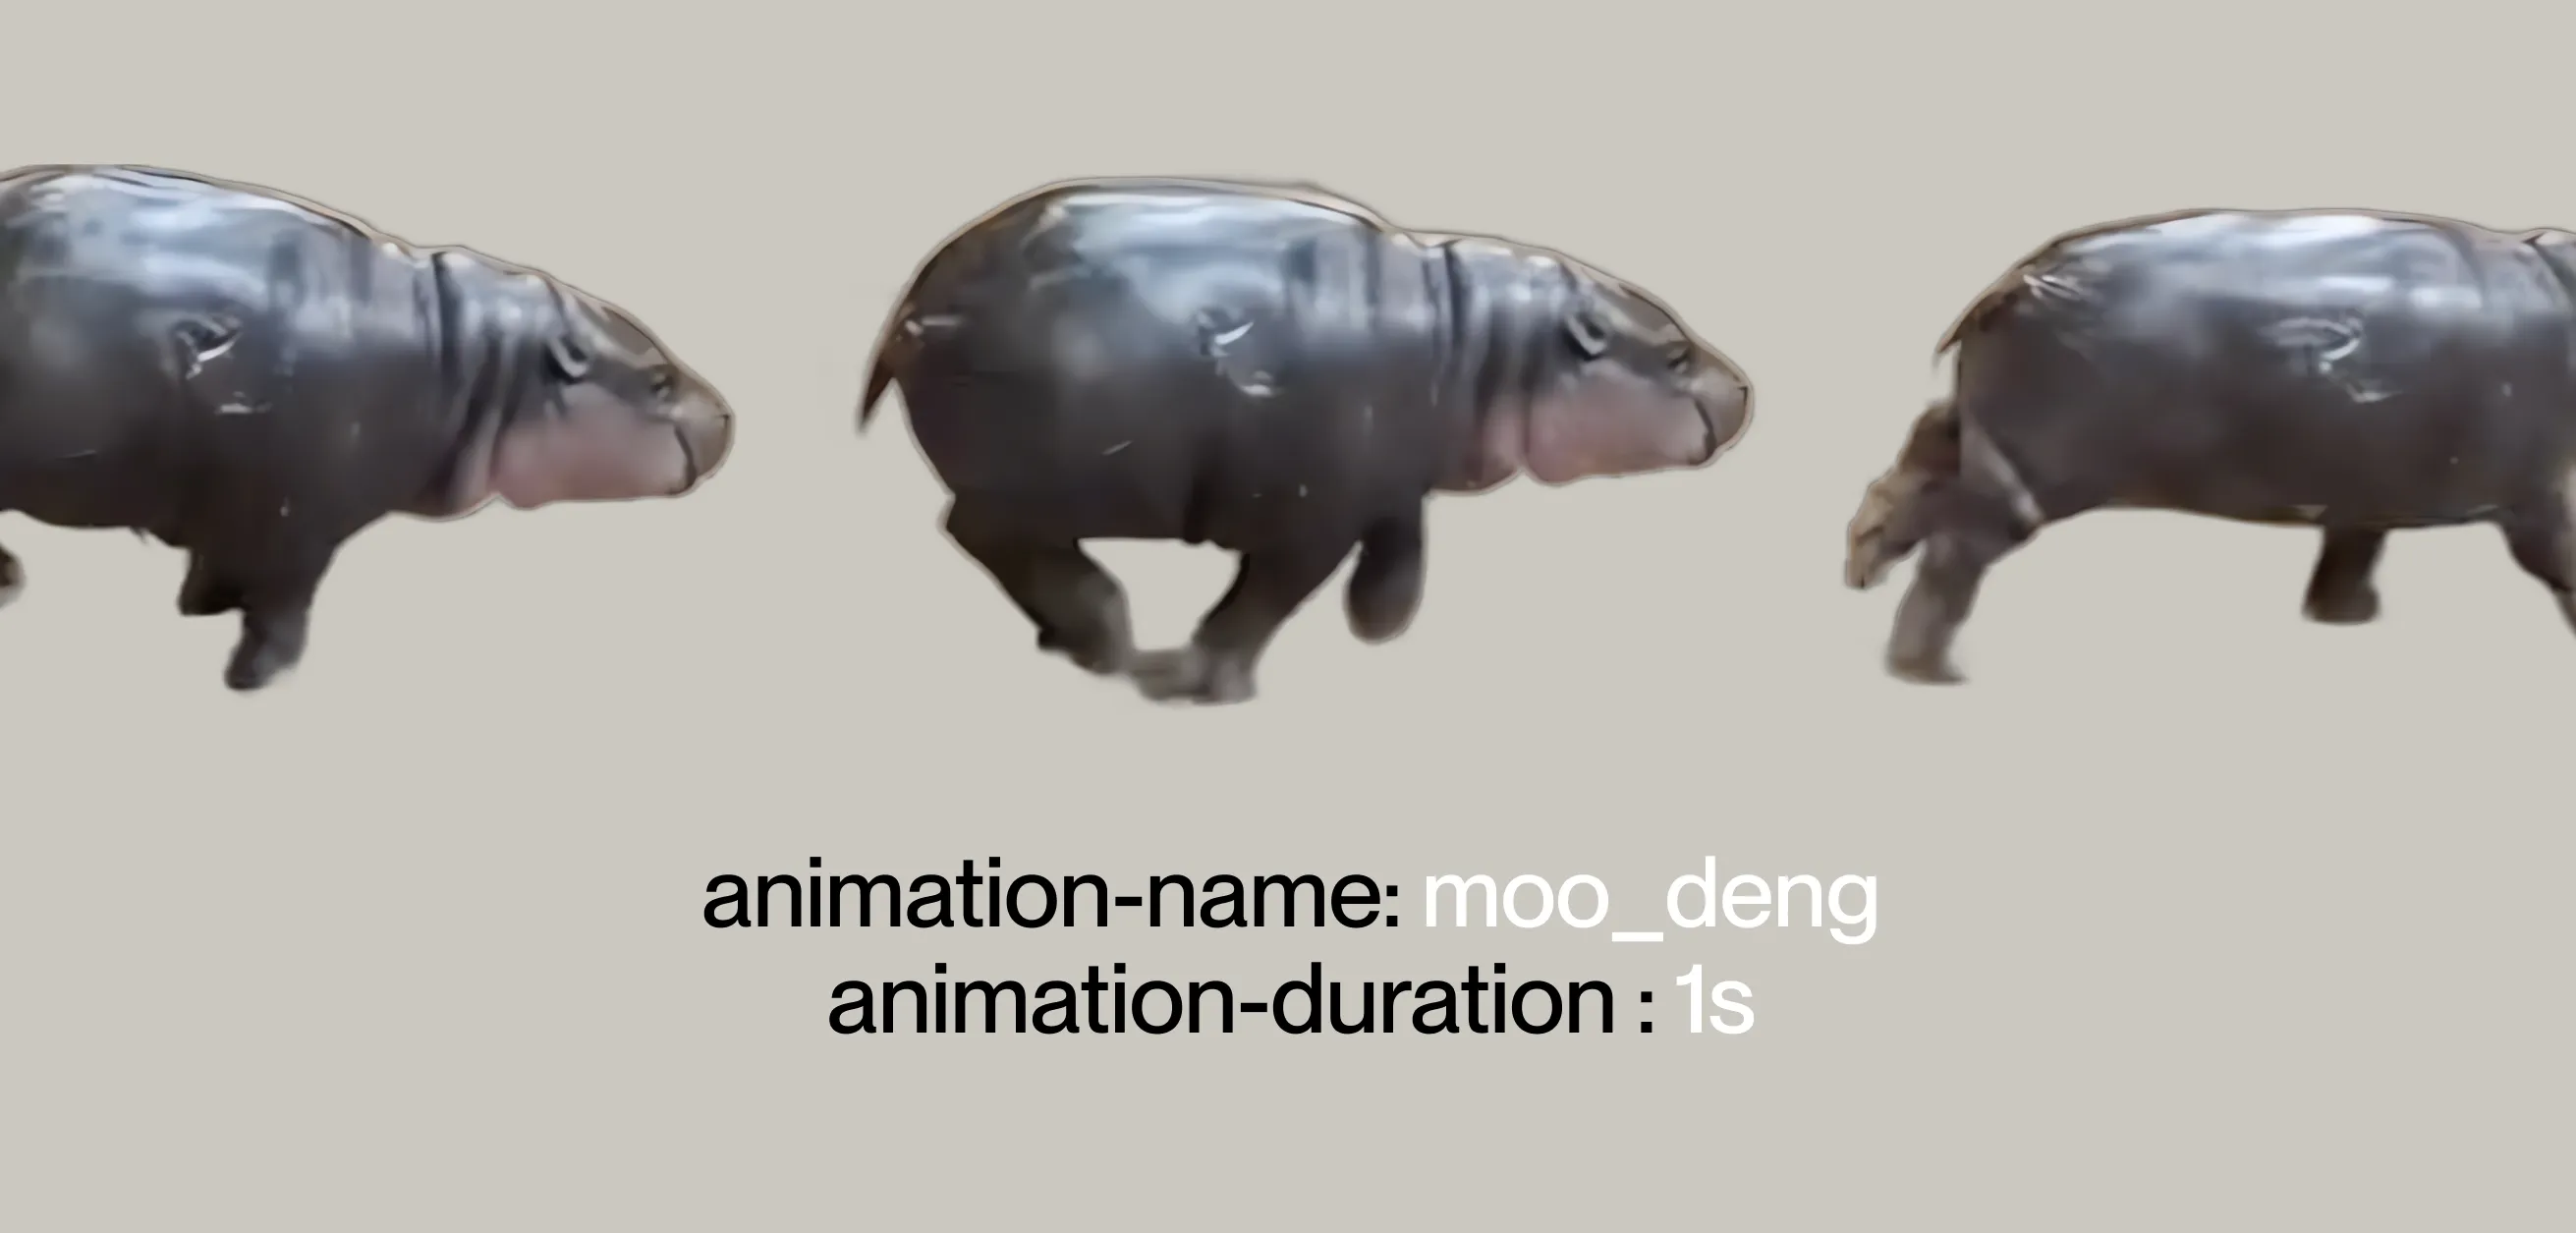
animation-duration : 10s Moodeng just waking up.

animation-duration : 5s Moodeng is getting hungry.

animation-duration : 1s Give me the food NOW.

Repeat
The animation-iteration-count CSS property sets the number of times an animation sequence should be played before stopping. We can set it to infinite to make Moodeng run forever or specify a number to make Moodeng move only a certain number of times.
animation-iteration-count : 5 Moodeng move 5 times

animation-iteration-count : 10 Moodeng move 10 times

animation-iteration-count : infinite Never stop

Easing
The animation-timing-function attribute determines how Moodeng walks for a specified duration.
All of examples below are same duration but different animation-timing-function.
animation-timing-function : ease

animation-timing-function : ease-in

animation-timing-function : ease-out

animation-timing-function : ease-in-out

animation-timing-function : cubic-bezier(0.65, 0, 0.35, 1)

animation-timing-function : cubic-bezier(0.7, 0, 0.84, 0)

animation-timing-function : cubic-bezier(0.34, 1.56, 0.64, 1)

Animation Direction
The animation direction determines how the loop works.
animation-direction : normal

animation-direction : reverse

animation-direction : alternate

animation-direction : alternate-reverse

Play/Pause
Use the animation-play-state attribute to specify the playing state of the animation.
Available options running or pause
Hovering on moodeng below to pause the animation.

.container:hover img{ animation-play-state: paused;}Interactive UI playground
Great job! You’ve mastered the basics of moving Moodeng from left to right. Now it’s time to get your hands dirty.
Dive into the interactive UI playground below to experiment with different attributes and see the CSS code in action. Don’t just read – tweak, adjust, and watch how each change affects Moodeng’s movement.

Make Moodeng run
Now that you’ve learned the basics of CSS animation, let’s move to something more advanced. We will make Moodeng run.
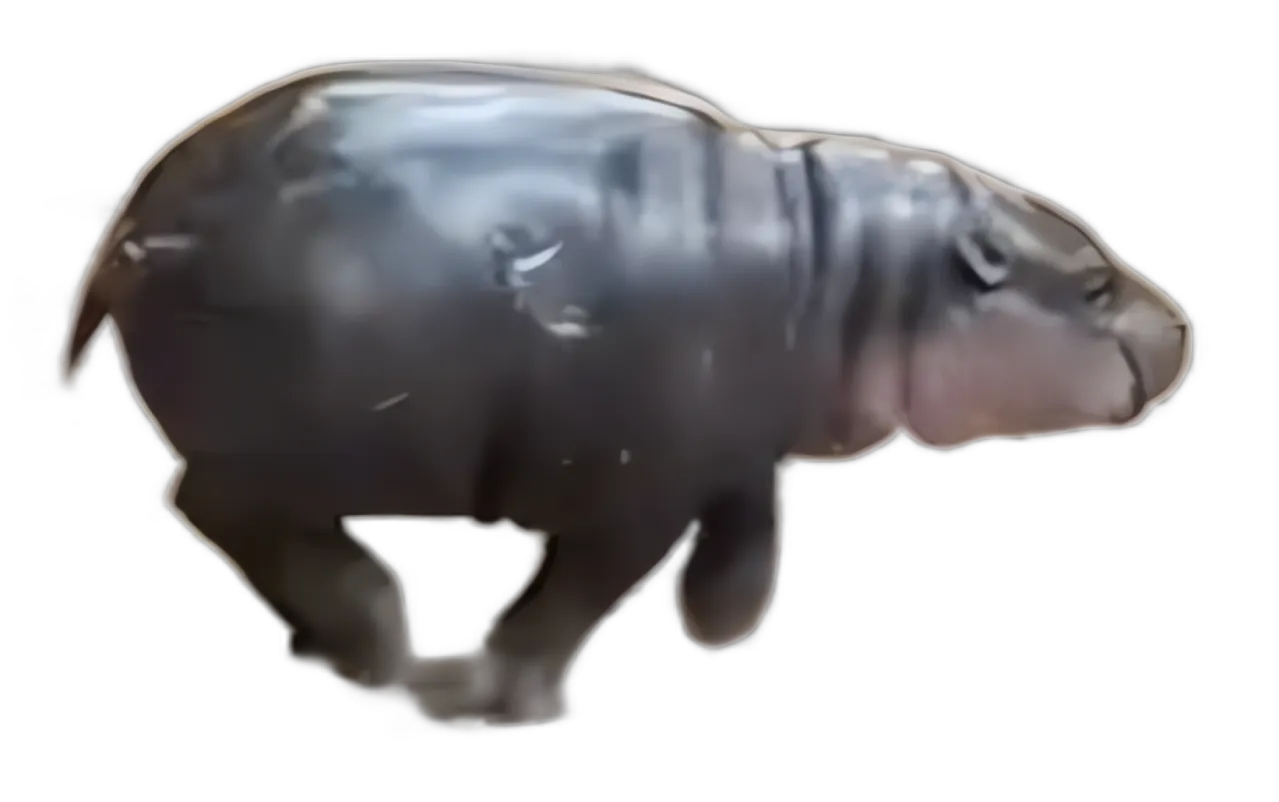
First, we will replace Moodeng’s picture to new picture called moo_deng_sprite.png.
<div class="wrapper"> <div class="container"> <img class="pic" src="moo_deng_sprite.png"/> </div> </div>Next, we will crop the Moodeng image by fix the width and height with these CSS properties.
img { width:360px; height:195px; object-fit:cover; object-position:0 0; }Idea for this animation is that we will animate object-position of each keyframes to position like this

@keyframes moodeng_run { 0% { object-position: 0 0; } 11% { object-position: 20% 0; } 22% { object-position: 40% 0; } 33% { object-position: 60% 0; } 44% { object-position: 80% 0; } 55% { object-position: 100% 0; } 66% { object-position: 80% 0; } 77% { object-position: 60% 0; } 88% { object-position: 40% 0; } 100% { object-position: 20% 0; } } img { animation-name: moodeng_run; animation-iteration-count: infinite; }After set the keyframe ,image will moving inside frame left to right.
Finally we need to add an extra attribute: animation-timing-function: steps(1) and set animation-duration to be 0.7s. This will make the animation work in steps, it will look like Moodeng is running very fast.
img { animation-name: moodeng_run; animation-iteration-count: infinite; animation-timing-function: steps(1); animation-duration: 0.7s; }Pros of this approach compare to GIF image is that we can control how fast the movement by simply using animation-duration. Lower the duration greater the speed.
Apply both animations together.
Finally, we can combine both moodeng_left_to_right and moodeng_walk together by separate HTML element to .picture-content and .frame.
For the .frame we will use moodeng_left_to_right and for .picture-content we will use moodeng_walk
Performance Optimization Tips
When running many animations simultaneously, the browser may lag, especially on low-performance mobile devices. To optimize performance, consider writing JavaScript code to play animations when the HTML is visible on the screen and stop when Moodeng leaves the screen by using IntersectionObserver.
This article also use this optimization tricks too.
import React from "react";
export const OnScreenContainer = (props: {  children: any;  className?: string;}) => {  const ref = React.useRef(null);  const [isVisible, setIsVisible] = React.useState(false);  const rootMargin = '0px';  React.useEffect(() => {    if (ref.current == null) return;    const observer = new IntersectionObserver(      ([entry]) => {        return setIsVisible(entry.isIntersecting)      },      { rootMargin: rootMargin }    ) as any;    observer.observe(ref.current);    return () => {      if (ref.current == null) return;      observer.unobserve(ref.current);    };  }, [ref.current, rootMargin]);  return (    <div      ref={ref}      className={`isVisible-${isVisible} ${props.className ?? ""}`}    >      {isVisible?props.children:<></>}    </div>  );};
Shorthand
For a simpler version, you can reduce from
img { animation-name: moodeng_run; animation-duration: 8s; animation-timing-function: ease-in;}to the css like this.
img { animation: moodeng_run 8s ease-in;}Summary
CSS animations are a cornerstone of modern front-end development. They’re used extensively in UI components such as loading spinners, progress bars, and interactive elements. By mastering CSS animations, you’ll be able to:
- Create more engaging and interactive interfaces
- Guide user attention to important elements
- Provide visual feedback for user actions
- Enhance the overall look and feel of the website
- Enhance visual cues for users with certain cognitive disabilities
- Better performance than JS animation
- Widely supported across modern browsers
- Easily adapt animations for different screen sizes and devices
Remember, the key to mastering CSS animations is practice and experimentation. Apply these techniques in your next web development project to create smoother, more interactive user experiences.
 Web Developers คืออะไร? สำคัญแค่ไหน Web Developer คืออาชีพที่มีทักษะด้านโปรแกรมมิ่ง และมีการเรียนรู้ในเทคโนโลยีใหม่ ๆ เพื่อพัฒนางานอย่างต่อเนื่อง และมีความสำคัญกับธุรกิจในยุคดิจิตัลแบบนี้เป็นอย่างมาก
  จุดเด่นของ React JS คือ ดียังไงกับการทำ Mobile App React JS เป็นไลบรารีที่สนับสนุนการพัฒนาแอปพลิเคชันแบบ Single Page พร้อมรองรับการสร้างแอปบนมือถือด้วย React Native แต่ทำอย่างไร มาดูกันครับ
  Flutter คืออะไร ฟรีมั้ย การพัฒนาแอปพลิเคชันในยุคดิจิทัลนี้ Flutter ได้กลายเป็นหนึ่งในเครื่องมือที่ได้รับความนิยมอย่างมากในวงการ แล้ว Flutter คืออะไร แล้วใช้งานฟรีหรือไม่?
  อยากสร้าง Mobile App จะเลือกใช้โปรแกรมเขียน Mobile App การเลือกโปรแกรมเขียน Mobile App มีเครื่องมือกับภาษาอะไรให้เลือกใช้งานกันมากมาย ควรพิจารณาอย่างไรเพื่อให้มีประสิทธิภาพและตรงตามความต้องการของโปรเจกต์
  Next.js คืออะไร? มาเริ่มเขียนเว็บด้วย Next.js กันดีกว่า Next.js เป็น Framework สำหรับสร้างเว็บไซต์ด้วย React ที่ช่วยให้สามารถสร้างเว็บไซต์ที่มีประสิทธิภาพและใช้งานได้จริง และรองรับ SEO ได้ดีขึ้นอีกด้วย
  รู้จักกับ บริษัท Software House คืออะไร ทำอะไรบ้าง Software House คือศูนย์บริการที่ครบวงจรในการพัฒนาเทคโนโลยี ช่วยสนับสนุนธุรกิจในยุค 4.0 และสร้างโอกาสใหม่ ๆ ในตลาดการแข่งขันที่มีการเปลี่ยนแปลงอย่างรวดเร็ว
 Talk with CEO
We'll be right here with you every step of the way.
We'll be here, prepared to commence this promising collaboration.
Whether you're curious about features, warranties, or shopping policies, we provide comprehensive answers to assist you.

