- Services
- Case Studies
- Technologies
- NextJs development
- Flutter development
- NodeJs development
- ReactJs development
- About
- Contact
- Tools
- Blogs
- FAQ
CSS Visibility Controlling Element Visibility
Discover available options like visible, hidden, and collapse to manage element visibility effectively.

Introduction
The visibility property in CSS is a handy tool for web developers. It lets you hide elements on a web page without changing the layout. Unlike the display property, which removes elements from the layout, visibility keeps the element’s space intact. This makes it perfect for creating interactive web designs.
The visibility property can take values like visible, hidden, and collapse. Each value has a specific purpose:
visible: The element is fully visible.hidden: The element is invisible but still occupies space.collapse: Used mainly for table elements to hide rows or columns without affecting the table’s layout.
Syntax
The visibility property is easy to use. Here’s the basic syntax:
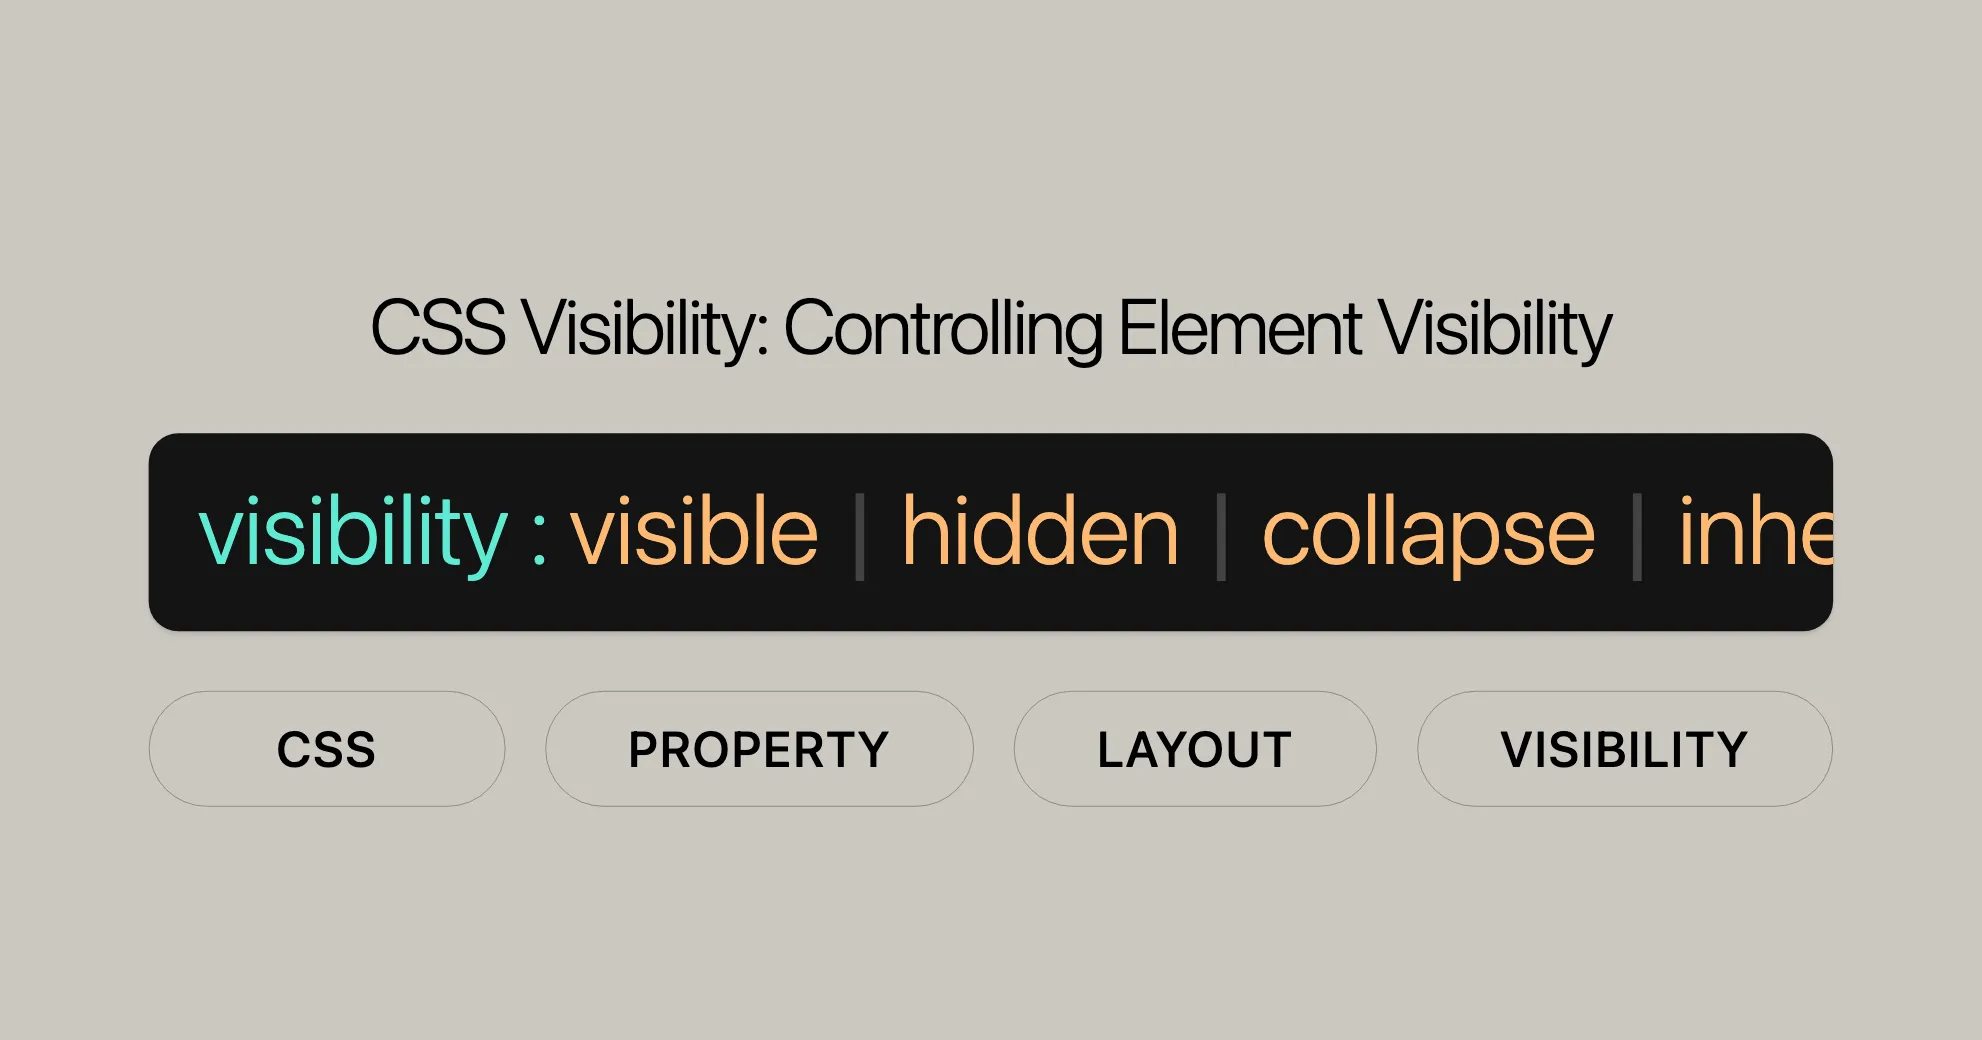
visibility: visible | hidden | collapse | inherit | initial | revert | revert-layer | unset;visible: The element is fully visible.hidden: The element is not visible but still occupies space.collapse: Used mainly for table elements to hide rows or columns without affecting the table’s layout.inherit: The element inherits the visibility from its parent.initial: The element uses the default value.revert: The element reverts to the value defined by the browser.revert-layer: Similar torevert, but applies to the current cascade layer.unset: The element uses the inherited value if it inherits, otherwise it uses the initial value.
Values
The visibility property has several values that control the visibility of elements:
visible
- The element is fully visible and behaves normally.
hidden
- The element is not visible but still occupies space. It can’t receive focus.
collapse
- For table elements, it hides rows or columns without affecting the table’s layout.
- For flex items and ruby annotations, the elements are hidden, and the space is removed.
- For other elements, it acts like
hidden.
inherit
- The element inherits the visibility from its parent.
initial
- The element uses the default value, typically
visible.
revert
- The element reverts to the value defined by the browser.
revert-layer
- Similar to
revert, but applies to the current cascade layer.
unset
- The element uses the inherited value if it inherits, otherwise it uses the initial value.
Visibility vs Display
Understanding the differences between visibility and display is crucial:
visibility: hidden vs display: none
-
visibility: hidden:- Hides the element but keeps its space in the layout.
- Useful for temporarily hiding elements without disrupting the layout.
-
display: none:- Removes the element from the layout entirely.
- Useful for permanently hiding elements or dynamically adding/removing them.
Accessibility
Accessibility is important when using the visibility property:
-
visibility: hidden:- The element is invisible but still occupies space.
- Removed from the accessibility tree, meaning screen readers won’t announce it.
-
display: none:- The element is completely removed from the layout and accessibility tree.
Best Practices
- Avoid Permanent Hiding: If an element contains important information, avoid using
visibility: hiddenordisplay: nonepermanently. - Use ARIA Attributes: Consider using ARIA attributes to keep content accessible.
- Provide Alternatives: Provide other ways for users to access hidden content.
- Test with Screen Readers: Regularly test your pages with screen readers.
Specifications
The visibility property is defined in the CSS Display Module Level 3 specification. This ensures consistent behavior across different browsers and devices. Understanding the specifications helps you make the most of the visibility property.
Browser Compatibility
The visibility property is widely supported by modern browsers like Chrome, Firefox, Edge, Opera, and Safari. However, some advanced features may have partial support.
Best Practices
- Fallbacks: Use fallbacks for older browsers.
- Feature Detection: Check if the
visibilityproperty is supported. - Polyfills: Use polyfills to add support in older browsers.
Examples
Let’s look at some practical examples:
Basic Example
<form> <div class="form-section"> <label for="name">Name:</label> <input type="text" id="name" name="name"> </div> <div class="form-section hidden"> <label for="email">Email:</label> <input type="email" id="email" name="email"> </div> <div class="form-section"> <label for="message">Message:</label> <textarea id="message" name="message"></textarea> </div></form>.hidden { visibility: hidden;}In this example, the email section is hidden but still occupies space.
Example: Paragraph Visibility
HTML:
<!DOCTYPE html><html><head> <title>CSS Visibility Example</title> <style> .visible { visibility: visible; } .not-visible { visibility: hidden; } </style></head><body> <p class="visible">The first paragraph is visible.</p> <p class="not-visible">The second paragraph is NOT visible.</p> <p class="visible"> The third paragraph is visible. Notice the second paragraph is still occupying space. </p></body></html>Output:
- The first and third paragraphs will be visible.
- The second paragraph will be hidden but will still occupy space in the layout.
Example: Table Visibility
HTML:
<!DOCTYPE html><html><head> <title>CSS Visibility Table Example</title> <style> .collapse { visibility: collapse; } table { border: 1px solid red; } td { border: 1px solid gray; } </style></head><body> <table> <tr> <td>1.1</td> <td class="collapse">1.2</td> <td>1.3</td> </tr> <tr class="collapse"> <td>2.1</td> <td>2.2</td> <td>2.3</td> </tr> <tr> <td>3.1</td> <td>3.2</td> <td>3.3</td> </tr> </table></body></html>Output:
- The second column and the entire second row will be hidden.
- The space occupied by the hidden elements will be removed from the table layout.
Example: Toggle Visibility with JavaScript
HTML:
<!DOCTYPE html><html><head>    <title>Toggle Visibility with JavaScript</title>    <style>        .hidden {            visibility: hidden;        }    </style></head><body>    <p class="visible">This paragraph is visible.</p>    <p id="toggleParagraph" class="hidden">This paragraph is NOT visible.</p>    <p class="visible">This paragraph is visible. Notice the hidden paragraph is still occupying space.</p>    <button onclick="toggleVisibility()">Toggle Visibility</button>
    <script>        function toggleVisibility() {            const paragraph = document.getElementById('toggleParagraph');            if (paragraph.style.visibility === 'hidden') {                paragraph.style.visibility = 'visible';            } else {                paragraph.style.visibility = 'hidden';            }        }    </script></body></html>
Output:
- Clicking the “Toggle Visibility” button will toggle the visibility of the second paragraph.
Using the visibility Property in CSS
Basic Usage
To hide an element using the visibility property, set the value to hidden. This will make the element invisible but still occupy space in the layout.
HTML:
<!DOCTYPE html><html><head> <title>Using Visibility in CSS</title> <style> .hidden { visibility: hidden; } </style></head><body> <p class="visible">This paragraph is visible.</p> <p class="hidden">This paragraph is NOT visible.</p> <p class="visible">This paragraph is visible. Notice the hidden paragraph is still occupying space.</p></body></html>CSS:
.hidden { visibility: hidden;}Output:
- The first and third paragraphs will be visible.
- The second paragraph will be hidden but will still occupy space in the layout.
Notes
When using the visibility property in CSS, there are several key points to consider for effective and compatible web designs.
Support for visibility: collapse
- Browser Compatibility: Some modern browsers may not fully support
visibility: collapse, especially on elements other than table rows and columns. - Table Rows and Columns: Using
visibility: collapseon table rows can lead to unexpected rendering if cells span both visible and collapsed rows. The presentation varies by browser, with some cropping the overflow and others allowing it to bleed into subsequent rows. - Nested Tables: Collapsing a table row may affect the layout of nested tables unless you explicitly set
visibility: visibleon them.
Additional Considerations
- Accessibility: Setting
visibility: hiddenremoves the element from the accessibility tree, making it invisible to screen readers. - Interpolation: The
visibilityproperty can be animated betweenvisibleandhidden. The transition is discrete, meaning values between0and1map tovisible, and other values map tohidden. - Compatibility: Basic
visibilityfunctionality is well-supported, but advanced features may have inconsistent support. Always test your designs across different browsers for compatibility.
By keeping these points in mind, you can use the visibility property effectively to enhance your web designs while ensuring a smooth user experience across various platforms and devices.
FAQs
What does the visibility property do in CSS?
The visibility property controls whether an element is visible or hidden, but it still occupies space in the layout.
How is the visibility property different from display: none?
Unlike display: none, which removes the element from the document flow, visibility: hidden hides the element but still retains its space in the layout.
Can the visibility property have values other than visible or hidden?
Yes, the visibility property can also take the value collapse, which is primarily used for collapsing table rows or columns.
Does the visibility property affect the accessibility of content?
Yes, content with visibility: hidden is not visible but may still be accessible to screen readers, depending on the browser.
Can JavaScript interact with the visibility property?
Yes, JavaScript can dynamically change the visibility of elements using methods like element.style.visibility = 'hidden'.
What browsers support the visibility property?
The visibility property is widely supported by modern web browsers, including Google Chrome, Mozilla Firefox, Microsoft Edge, Opera, and Safari.
How do I use the visibility property with tables?
You can use the visibility: collapse value to hide table rows or columns without affecting the overall table layout.
Can I animate the visibility property?
Yes, you can apply transition effects to the visibility property to create smooth and visually appealing transitions when elements become visible or hidden.
By understanding these FAQs, you can effectively use the visibility property to enhance the functionality and interactivity of your web designs.
Did you know?
Transition effects applied to visibility
You can apply transition effects to the visibility property in CSS. This allows you to create smooth and visually appealing transitions when elements become visible or hidden.
Example:
In this example, we will create a transition effect that hides an element when you hover over an image.
HTML:
<!DOCTYPE html><html><head>    <title>Visibility Transition Example</title>    <style>        .hidden {            visibility: hidden;            transition: visibility 0.5s;        }        .visible {            visibility: visible;            transition: visibility 0.5s;        }    </style></head><body>    <p class="visible">This paragraph is visible.</p>    <p id="toggleParagraph" class="visible">Hover over me to hide.</p>    <p class="visible">This paragraph is visible. Notice the hidden paragraph is still occupying space.</p>
    <script>        const paragraph = document.getElementById('toggleParagraph');        paragraph.addEventListener('mouseover', () => {            paragraph.classList.add('hidden');        });        paragraph.addEventListener('mouseout', () => {            paragraph.classList.remove('hidden');        });    </script></body></html>
Output:
- Hovering over the second paragraph will hide it with a transition effect.
By using transition effects with the visibility property, you can create more dynamic and engaging web designs.
 สร้างเว็บไซต์ 1 เว็บ ต้องใช้งบเท่าไหร่? เจาะลึกทุกองค์ประกอบ website development cost อยากสร้างเว็บไซต์แต่ไม่มั่นใจในเรื่องของงบประมาณ อ่านสรุปเจาะลึกตั้งแต่ดีไซน์, ฟังก์ชัน และการดูแล พร้อมตัวอย่างงบจริงจาก Till it’s done ที่แผนชัด งบไม่บานปลายแน่นอน
  Next.js สอน 14 ขั้นตอนเบื้องต้น: สร้างโปรเจกต์แรกใน 30 นาที เริ่มต้นกับ Next.js ใน 14 ขั้นตอนเพียงแค่ 30 นาที พร้อม SSR/SSG และ API Routes ด้วยตัวอย่างโค้ดง่าย ๆ อ่านต่อเพื่อสร้างโปรเจ็กต์แรกได้ทันทีที่นี่
  วิธีสมัคร Apple Developer Account เพื่อนำแอปขึ้น App Store ทีละขั้นตอน อยากปล่อยแอปบน App Store ระดับโลก มาอ่านคู่มือสมัคร Apple Developer Account พร้อมเคล็ดลับ TestFlight และวิธีอัปโหลดที่ง่ายในบทความเดียวนี้ได้เลย
  TypeScript Interface คืออะไร? อธิบายพร้อมวิธีใช้และข้อแตกต่างจาก Type เรียนรู้วิธีใช้ TypeScript Interface เพื่อสร้างโครงสร้างข้อมูลที่ปลอดภัยและเข้าใจง่าย พร้อมเปรียบเทียบข้อดีข้อแตกต่างกับ Type ที่คุณต้องรู้ ถูกรวมเอาไว้ในบทความนี้แล้ว
  Material-UI (MUI) คืออะไร อยากสร้าง UI สวยงามและเป็นมืออาชีพในเวลาอันรวดเร็วใช่ไหม มาทำความรู้จักกับ Material-UI (MUI) ที่ช่วยให้คุณพัฒนาแอปพลิเคชันบน React ได้ง่ายและดูดีในทุกอุปกรณ์
  เปรียบเทียบ 3 วิธีติดตั้ง install node js บน Ubuntu: NVM vs NodeSource vs Official Repo แบบไหนดีที่สุด? เรียนรู้วิธีติดตั้ง Node.js บน Ubuntu ด้วย NVM, NodeSource หรือ Official Repo เลือกวิธีที่เหมาะกับความต้องการของคุณ พร้อมเปรียบเทียบ เพื่อการพัฒนาที่มีประสิทธิภาพ!
 Talk with CEO
We'll be right here with you every step of the way.
We'll be here, prepared to commence this promising collaboration.
Whether you're curious about features, warranties, or shopping policies, we provide comprehensive answers to assist you.


