- Services
- Case Studies
- Technologies
- NextJs development
- Flutter development
- NodeJs development
- ReactJs development
- About
- Contact
- Tools
- Blogs
- FAQ
CSS Pointer-Events Control User Interaction
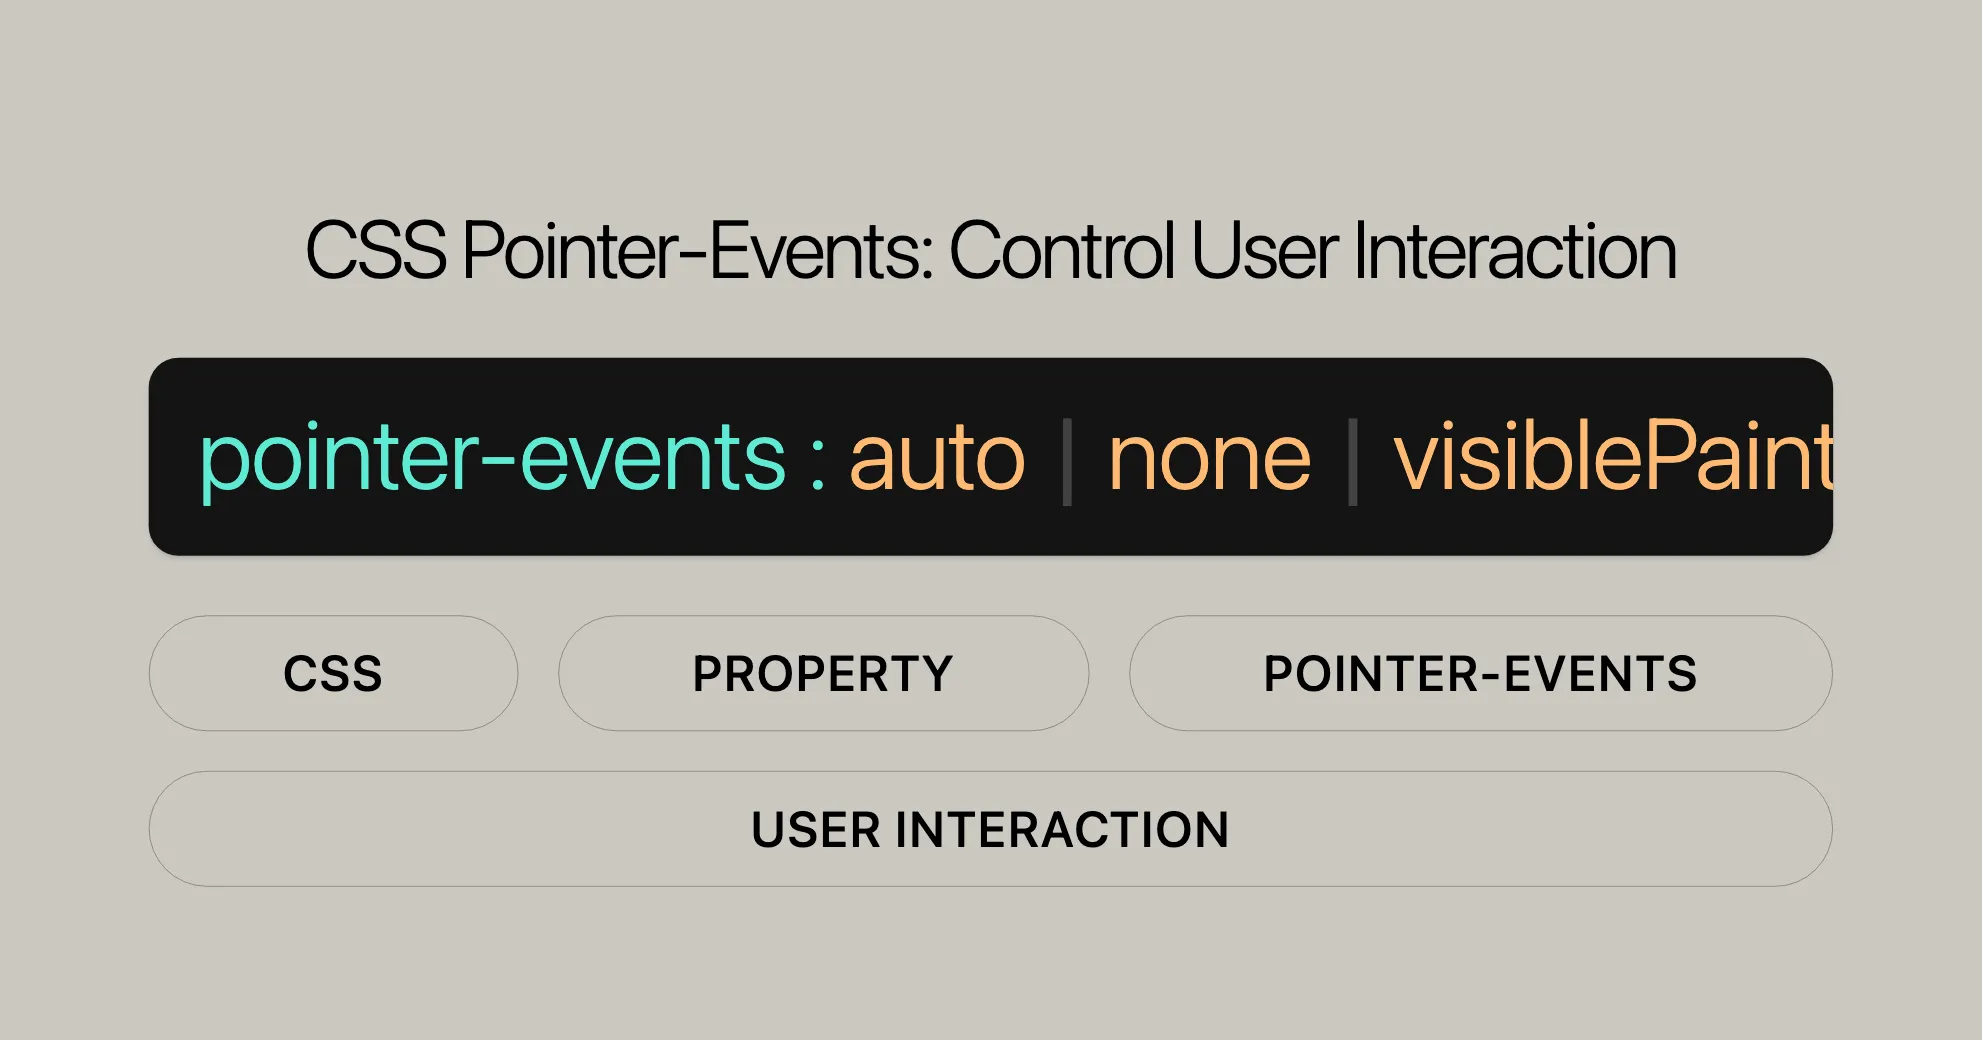
Explore various options such as auto, none, visiblePainted, and more.
Introduction
The pointer-events property in CSS is a crucial tool for controlling how elements respond to pointer events like mouse clicks, hovers, and touch interactions. It helps enhance user experience and interaction by specifying when an element can be the target of these events.
Pointer events are essential for creating responsive and interactive web designs. By setting the pointer-events property, you can decide whether an element should respond to pointer interactions or ignore them, allowing events to pass through to elements underneath. This is handy for scenarios where you want to disable certain interactions without affecting the overall functionality of the webpage.
For example, you can disable pointer events on images to prevent users from clicking, dragging, or hovering over them. Similarly, you can disable pointer events on links to make them non-clickable. This flexibility allows developers to create more intuitive and user-friendly interfaces.
The pointer-events property is especially useful in SVG (Scalable Vector Graphics) content, where it can control interactions based on the visibility and fill or stroke properties of elements. This makes it an essential tool for web designers working with complex graphics and interactive elements.
In this article, we’ll explore the various values and uses of the pointer-events property, including practical examples and browser compatibility. This will help you understand how to effectively use this property to enhance your web development projects.
Specification
The pointer-events property is defined in the CSS Basic User Interface Module Level 4 and the Scalable Vector Graphics (SVG) 2 specifications. These specifications outline the behavior and values of the pointer-events property, ensuring consistent implementation across different browsers and platforms.
CSS Basic User Interface Module Level 4
This specification defines the pointer-events property to control how elements respond to pointer events. It includes detailed descriptions of the property and its values, ensuring that web developers can use it effectively to manage user interactions.
Scalable Vector Graphics (SVG) 2
The SVG 2 specification extends the use of the pointer-events property to include more detailed control over how SVG elements respond to pointer events. This is particularly useful for web designers working with complex graphics and interactive elements. The specification provides a range of values that allow for fine-tuned control over pointer interactions based on the visibility, fill, and stroke properties of SVG elements.
By adhering to these specifications, web developers can ensure that their use of the pointer-events property is consistent and reliable across different browsers and devices. This makes it easier to create interactive and responsive web designs that work seamlessly for all users.
Syntax
The pointer-events property in CSS is specified using a single keyword chosen from a list of predefined values. The syntax is straightforward and allows developers to easily control how elements respond to pointer events.
Here is the basic syntax for the pointer-events property:
/* Keyword values */pointer-events: auto;pointer-events: none;
/* Values used in SVGs */pointer-events: visiblePainted;pointer-events: visibleFill;pointer-events: visibleStroke;pointer-events: visible;pointer-events: painted;pointer-events: fill;pointer-events: stroke;pointer-events: bounding-box;pointer-events: all;
/* Global values */pointer-events: inherit;pointer-events: initial;pointer-events: revert;pointer-events: revert-layer;pointer-events: unset;
Explanation
- Keyword values: These are the most common values used to control pointer events for HTML elements.
auto: The element behaves as it normally would if thepointer-eventsproperty were not specified.none: The element does not respond to any pointer events, and the events pass through to the element underneath.
- Values used in SVGs: These values are specific to SVG elements and provide more granular control over pointer interactions based on visibility and fill/stroke properties.
visiblePainted: The element responds to pointer events only when it is visible and the cursor is over a filled or stroked area.visibleFill: The element responds to pointer events only when it is visible and the cursor is over a filled area.visibleStroke: The element responds to pointer events only when it is visible and the cursor is over a stroked area.visible: The element responds to pointer events only when it is visible.painted: The element responds to pointer events only when the cursor is over a filled or stroked area, regardless of visibility.fill: The element responds to pointer events only when the cursor is over a filled area.stroke: The element responds to pointer events only when the cursor is over a stroked area.bounding-box: The element responds to pointer events only when the cursor is over the bounding box of the element.all: The element responds to pointer events regardless of visibility or fill/stroke properties.
- Global values: These values are used to inherit or reset the
pointer-eventsproperty.inherit: Inherits thepointer-eventsvalue from the parent element.initial: Sets thepointer-eventsvalue to its initial default value.revert: Reverts thepointer-eventsvalue to the value specified in the user agent’s default stylesheet.revert-layer: Reverts thepointer-eventsvalue to the value specified in the user agent’s default stylesheet for the current layer.unset: Resets thepointer-eventsvalue to its inherited value if it is inheritable, or to its initial value if it is not inheritable.
By understanding and using this syntax, web developers can effectively control how elements respond to pointer events, enhancing the interactivity and user experience of their web designs.
Values
The pointer-events property in CSS can be set to various values, each defining specific conditions under which an element can become the target of pointer events. These values provide flexibility in controlling user interactions with web elements. Here is a detailed overview of the different values for the pointer-events property:
auto
The auto value is the default behavior for the pointer-events property. It means that the element will behave as it normally would if the pointer-events property were not specified. For SVG content, the auto value has the same effect as the visiblePainted value.
none
The none value prevents the element from being the target of any pointer events. This means that the element will not respond to clicks, hovers, or any other pointer interactions. However, its subtree (child elements) can still be targetable by setting pointer-events to some other value. In these cases, pointer events will trigger event listeners on the parent element as appropriate during the event capture and bubble phases.
Note: The pointerenter and pointerleave events are fired when a pointing device is moved into or out of an element or its descendants. Even if pointer-events: none is set on the parent and not on the children, these events are triggered on the parent after the pointer is moved in or out of a descendant.
SVG-Specific Values (Experimental for HTML)
These values are primarily used in SVG content but are also experimental for HTML:
visiblePainted
The element can only be the target of a pointer event when the visibility property is set to visible and the cursor is over the interior (fill) or the perimeter (stroke) of the element. The fill and stroke properties must be set to values other than none.
visibleFill
The element can only be the target of a pointer event when the visibility property is set to visible and the cursor is over the interior (fill) of the element. The value of the fill property does not affect event processing.
visibleStroke
The element can only be the target of a pointer event when the visibility property is set to visible and the cursor is over the perimeter (stroke) of the element. The value of the stroke property does not affect event processing.
visible
The element can be the target of a pointer event when the visibility property is set to visible and the cursor is over either the interior (fill) or the perimeter (stroke) of the element. The values of the fill and stroke properties do not affect event processing.
painted
The element can only be the target of a pointer event when the cursor is over the interior (fill) or the perimeter (stroke) of the element. The fill and stroke properties must be set to values other than none. The value of the visibility property does not affect event processing.
fill
The element can only be the target of a pointer event when the cursor is over the interior (fill) of the element. The values of the fill and visibility properties do not affect event processing.
stroke
The element can only be the target of a pointer event when the cursor is over the perimeter (stroke) of the element. The values of the stroke and visibility properties do not affect event processing.
bounding-box
The element can only be the target of a pointer event when the cursor is over the bounding box of the element.
all
The element can be the target of a pointer event when the cursor is over the interior (fill) or the perimeter (stroke) of the element. The values of the fill, stroke, and visibility properties do not affect event processing.
Global Values
These values are used to inherit or reset the pointer-events property:
inherit: Inherits thepointer-eventsvalue from the parent element.initial: Sets thepointer-eventsvalue to its initial default value (auto).revert: Reverts thepointer-eventsvalue to the value specified in the user agent’s default stylesheet.revert-layer: Reverts thepointer-eventsvalue to the value specified in the user agent’s default stylesheet for the current layer.unset: Resets thepointer-eventsvalue to its inherited value if it is inheritable, or to its initial value if it is not inheritable.
Understanding these values allows web developers to fine-tune how elements respond to pointer events, creating more interactive and user-friendly web designs.
Formal Definition
The pointer-events property in CSS is formally defined to control the behavior of elements in response to pointer events. This property determines whether an element can be the target of pointer interactions such as clicks, hovers, and touch events. Here are the key aspects of its formal definition:
Initial Value
- Initial Value:
auto
Applies To
- Applies To: All elements
Inherited
- Inherited: Yes
Computed Value
- Computed Value: As specified
Animation Type
- Animation Type: Discrete
Formal Syntax
The formal syntax for the pointer-events property is as follows:
pointer-events = auto | bounding-box | visiblePainted | visibleFill | visibleStroke | visible | painted | fill | stroke | all | noneExplanation
auto: The element behaves normally, as ifpointer-eventswere not specified.bounding-box: The element responds to pointer events when the cursor is over its bounding box.visiblePainted: The element responds to pointer events when it is visible and the cursor is over a filled or stroked area.visibleFill: The element responds to pointer events when it is visible and the cursor is over a filled area.visibleStroke: The element responds to pointer events when it is visible and the cursor is over a stroked area.visible: The element responds to pointer events when it is visible.painted: The element responds to pointer events when the cursor is over a filled or stroked area, regardless of visibility.fill: The element responds to pointer events when the cursor is over a filled area.stroke: The element responds to pointer events when the cursor is over a stroked area.all: The element responds to pointer events regardless of visibility or fill/stroke properties.none: The element does not respond to any pointer events.
Global Values
inherit: Inherits thepointer-eventsvalue from the parent element.initial: Sets thepointer-eventsvalue to its initial default value (auto).revert: Reverts thepointer-eventsvalue to the value specified in the user agent’s default stylesheet.revert-layer: Reverts thepointer-eventsvalue to the value specified in the user agent’s default stylesheet for the current layer.unset: Resets thepointer-eventsvalue to its inherited value if it is inheritable, or to its initial value if it is not inheritable.
Examples
Disabling Pointer Events on an Element
To make an element non-interactive, you can set pointer-events to none.
<!DOCTYPE html><html lang="en"><head> <meta charset="UTF-8"> <meta name="viewport" content="width=device-width, initial-scale=1.0"> <title>Pointer Events Example</title> <style> .non-interactive { pointer-events: none; background-color: lightblue; padding: 20px; margin: 10px; } </style></head><body> <div class="non-interactive"> This element is non-interactive. </div> <div> This element is interactive. </div></body></html>In this example, the .non-interactive class disables pointer events on the div element, making it non-clickable and non-hoverable.
Controlling Pointer Events in SVG
In SVG, you can use the pointer-events property to control how different parts of the graphic respond to pointer events.
<!DOCTYPE html><html lang="en"><head> <meta charset="UTF-8"> <meta name="viewport" content="width=device-width, initial-scale=1.0"> <title>SVG Pointer Events Example</title> <style> svg { width: 200px; height: 200px; border: 1px solid black; } .stroke-only { pointer-events: stroke; } .fill-only { pointer-events: fill; } </style></head><body> <svg> <rect class="stroke-only" x="10" y="10" width="80" height="80" stroke="black" stroke-width="5" fill="none"></rect> <rect class="fill-only" x="110" y="10" width="80" height="80" stroke="none" fill="lightblue"></rect> </svg></body></html>In this example, the .stroke-only class makes the first rectangle respond to pointer events only when the cursor is over its stroke. The .fill-only class makes the second rectangle respond to pointer events only when the cursor is over its fill.
Inheriting Pointer Events
You can use the inherit value to make a child element inherit the pointer-events value from its parent.
<!DOCTYPE html><html lang="en"><head> <meta charset="UTF-8"> <meta name="viewport" content="width=device-width, initial-scale=1.0"> <title>Inheriting Pointer Events Example</title> <style> .parent { pointer-events: none; background-color: lightcoral; padding: 20px; } .child { pointer-events: inherit; background-color: lightgreen; padding: 20px; margin: 10px; } </style></head><body> <div class="parent"> Parent element (non-interactive) <div class="child"> Child element (inherits pointer-events from parent) </div> </div></body></html>In this example, the .child element inherits the pointer-events value from the .parent element, making it non-interactive as well.
These examples demonstrate how the pointer-events property can be used to control user interactions with different elements on a webpage. By understanding and utilizing this property, you can create more responsive and interactive web designs.
Browser Compatibility
The pointer-events property is widely supported across modern browsers. However, it’s essential to check compatibility when working with different browser versions. Here is a summary of browser support for the pointer-events property:
- Chrome: Supported
- Firefox: Supported
- Safari: Supported
- Edge: Supported
- Opera: Supported
- Internet Explorer: Supported from version 11
For detailed compatibility information, you can refer to resources like MDN Web Docs or Can I Use.
Understanding browser compatibility ensures that your web designs work consistently across different platforms and devices.
Conclusion
The pointer-events property in CSS is a powerful tool for controlling how elements respond to pointer events. By setting this property, you can determine under what conditions an element can become the target of these events, enhancing user interaction and experience.
Whether you’re working with simple HTML elements or complex SVG graphics, the pointer-events property provides the flexibility needed to control how users interact with your web content. By understanding its various values and uses, you can create more responsive and interactive web designs that work seamlessly for all users.
Experiment with the pointer-events property in your projects to see how it can enhance user interaction and improve the overall user experience.
Example
Disabling Pointer Events on All Images
To make all images non-interactive:
CSS
img { pointer-events: none;}HTML
<!DOCTYPE html><html><head> <title>Disable Pointer Events on Images</title> <style> img { pointer-events: none; } </style></head><body> <h1>Website</h1> <p>This image cannot be clicked or hovered over:</p> <img src="example.jpg" alt="Example Image"></body></html>Disabling Pointer Events on a Single Link
To make a specific link non-clickable:
CSS
a[href="http://example.com"] { pointer-events: none;}HTML
<!DOCTYPE html><html><head> <title>Disable Pointer Events on a Single Link</title> <style> a[href="http://example.com"] { pointer-events: none; } </style></head><body> <h1>Website</h1> <ul> <li><a href="WebsiteUrl">MDN</a></li> <li><a href="http://example.com">example.com</a></li> </ul></body></html>Disabling Pointer Events on an Overlay
To create an overlay that disables interaction with the underlying content:
CSS
.overlay { position: fixed; top: 0; left: 0; width: 100%; height: 100%; background: rgba(0, 0, 0, 0.5); pointer-events: none;}HTML
<!DOCTYPE html><html><head> <title>Disable Pointer Events on Overlay</title> <style> .overlay { position: fixed; top: 0; left: 0; width: 100%; height: 100%; background: rgba(0, 0, 0, 0.5); pointer-events: none; } </style></head><body> <h1>Website</h1> <p>This is some content.</p> <div class="overlay"></div></body></html>Allowing Pointer Events Only on a Specific Element
To enable interaction only on a specific element within a non-interactive container:
CSS
.container { pointer-events: none;}.container .interactive { pointer-events: auto;}HTML
<!DOCTYPE html><html><head> <title>Allow Pointer Events on Specific Element</title> <style> .container { pointer-events: none; } .container .interactive { pointer-events: auto; } </style></head><body> <h1>Website</h1> <div class="container"> <p>This text cannot be clicked or hovered over.</p> <button class="interactive">Click Me!</button> </div></body></html>Using pointer-events in SVG
To control pointer events in an SVG element:
CSS
svg { pointer-events: visiblePainted;}HTML
<!DOCTYPE html><html><head> <title>Pointer Events in SVG</title> <style> svg { pointer-events: visiblePainted; } </style></head><body> <h1>Website</h1> <svg width="200" height="200"> <rect width="100" height="100" fill="red" /> <circle cx="150" cy="100" r="50" fill="blue" /> </svg></body></html>These examples show how versatile the pointer-events property can be in controlling user interactions on your webpage.
See Also
For further reading and resources related to the pointer-events property, you can explore the following references:
- [The SVG attribute
pointer-events]WebsiteUrl: Detailed information on thepointer-eventsattribute in SVG. - [The SVG attribute
visibility]WebsiteUrl: Information on thevisibilityattribute in SVG, which is often used in conjunction withpointer-events. - [The
PointerEventAPI]WebsiteUrl: Documentation on the PointerEvent API, which can be used to handle pointer events in JavaScript. - [WebKit Specs PointerEventsProperty]WebsiteUrl: Additional details on the use of the
pointer-eventsproperty in (X)HTML content. - [
user-select]WebsiteUrl: CSS property that controls whether the user can select text.
 สร้างเว็บไซต์ 1 เว็บ ต้องใช้งบเท่าไหร่? เจาะลึกทุกองค์ประกอบ website development cost อยากสร้างเว็บไซต์แต่ไม่มั่นใจในเรื่องของงบประมาณ อ่านสรุปเจาะลึกตั้งแต่ดีไซน์, ฟังก์ชัน และการดูแล พร้อมตัวอย่างงบจริงจาก Till it’s done ที่แผนชัด งบไม่บานปลายแน่นอน
  Next.js สอน 14 ขั้นตอนเบื้องต้น: สร้างโปรเจกต์แรกใน 30 นาที เริ่มต้นกับ Next.js ใน 14 ขั้นตอนเพียงแค่ 30 นาที พร้อม SSR/SSG และ API Routes ด้วยตัวอย่างโค้ดง่าย ๆ อ่านต่อเพื่อสร้างโปรเจ็กต์แรกได้ทันทีที่นี่
  วิธีสมัคร Apple Developer Account เพื่อนำแอปขึ้น App Store ทีละขั้นตอน อยากปล่อยแอปบน App Store ระดับโลก มาอ่านคู่มือสมัคร Apple Developer Account พร้อมเคล็ดลับ TestFlight และวิธีอัปโหลดที่ง่ายในบทความเดียวนี้ได้เลย
  TypeScript Interface คืออะไร? อธิบายพร้อมวิธีใช้และข้อแตกต่างจาก Type เรียนรู้วิธีใช้ TypeScript Interface เพื่อสร้างโครงสร้างข้อมูลที่ปลอดภัยและเข้าใจง่าย พร้อมเปรียบเทียบข้อดีข้อแตกต่างกับ Type ที่คุณต้องรู้ ถูกรวมเอาไว้ในบทความนี้แล้ว
  Material-UI (MUI) คืออะไร อยากสร้าง UI สวยงามและเป็นมืออาชีพในเวลาอันรวดเร็วใช่ไหม มาทำความรู้จักกับ Material-UI (MUI) ที่ช่วยให้คุณพัฒนาแอปพลิเคชันบน React ได้ง่ายและดูดีในทุกอุปกรณ์
  เปรียบเทียบ 3 วิธีติดตั้ง install node js บน Ubuntu: NVM vs NodeSource vs Official Repo แบบไหนดีที่สุด? เรียนรู้วิธีติดตั้ง Node.js บน Ubuntu ด้วย NVM, NodeSource หรือ Official Repo เลือกวิธีที่เหมาะกับความต้องการของคุณ พร้อมเปรียบเทียบ เพื่อการพัฒนาที่มีประสิทธิภาพ!
 Talk with CEO
We'll be right here with you every step of the way.
We'll be here, prepared to commence this promising collaboration.
Whether you're curious about features, warranties, or shopping policies, we provide comprehensive answers to assist you.

