- Services
- Case Studies
- Technologies
- NextJs development
- Flutter development
- NodeJs development
- ReactJs development
- About
- Contact
- Tools
- Blogs
- FAQ
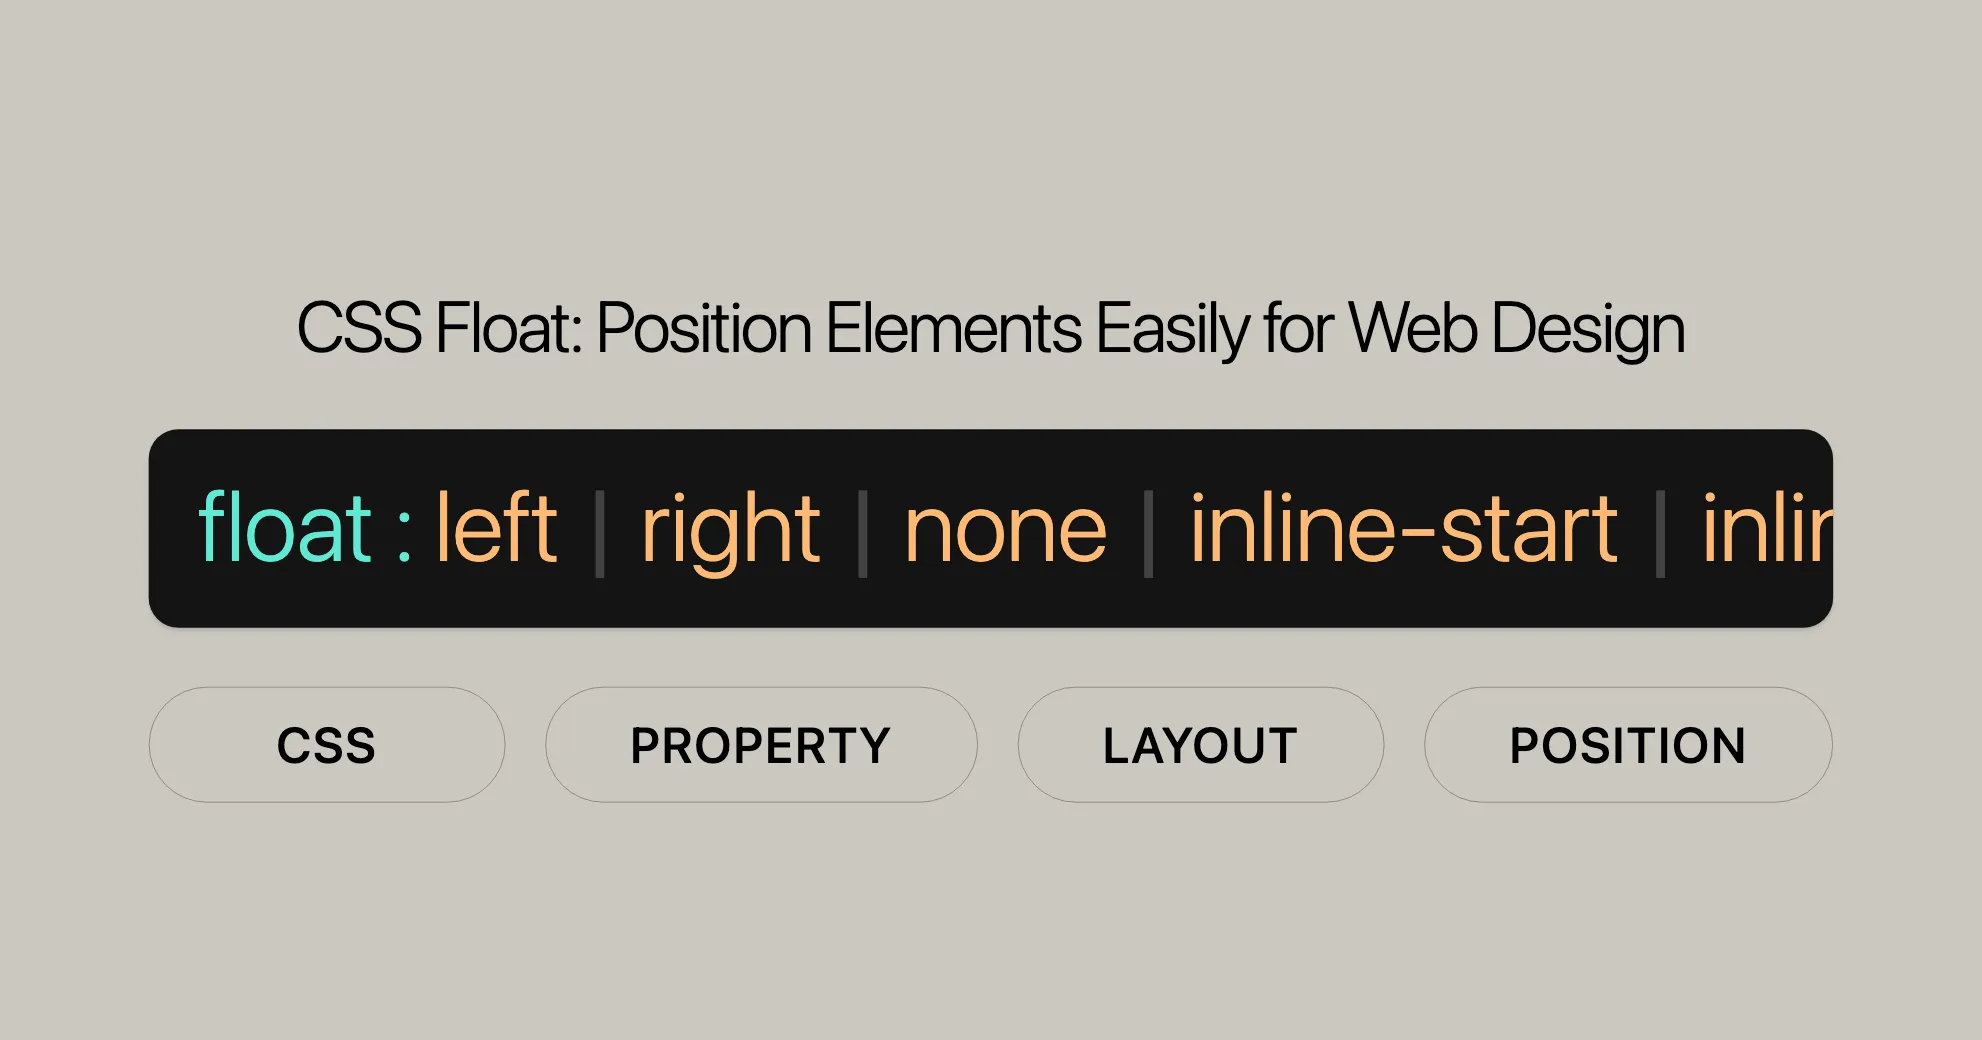
CSS Float Position Elements Easily for Web Design
Options include left, right, none, inline-start, and inline-end.

Introduction to CSS Float
The float property in CSS is a powerful tool for web developers and designers. It allows you to position an element to the left or right side of its container, enabling text and inline elements to wrap around it. This feature is particularly useful for creating layouts where text can flow around images or other elements, enhancing the visual appeal and usability of your web pages.
Unlike absolute positioning, which completely removes an element from the normal document flow, the float property keeps the element partially in the flow. This means that the floated element affects the layout of surrounding content, making it a versatile tool for creating complex and responsive designs.
By understanding and effectively utilizing the float property, you can create more dynamic and engaging web designs that seamlessly integrate text and visual elements.
Understanding Floated Elements
When an element is designated with the float property, it becomes a “floated element.” This means its computed value for float is not none. Floated elements are removed from the normal flow of the document but still influence the layout around them, allowing text and other inline elements to wrap around them.
How Floated Elements Work
Floated elements are not completely removed from the document flow like absolutely positioned elements. Instead, they remain part of the flow while being shifted to the left or right side of their containing block. This behavior allows for more flexible and dynamic layouts.
Important Considerations
- Block Layout: The
floatproperty modifies the computed value of thedisplayproperty in some cases. For instance, aninlineelement becomesblockwhen floated. - Container Interaction: Floated elements can affect the size and positioning of their container and surrounding elements, which is crucial to understand when designing complex layouts.
By grasping how floated elements interact with the rest of the document, you can create more sophisticated and responsive web designs.
Syntax and Values of CSS Float
The float property in CSS is specified using a single keyword chosen from a list of predefined values. Understanding the syntax and values of the float property is crucial for effectively using it in your web designs.
Syntax
float: left;float: right;float: none;float: inline-start;float: inline-end;
/* Global values */float: inherit;float: initial;float: revert;float: revert-layer;float: unset;
Values
left
The element floats to the left side of its containing block. This is useful for aligning elements such as images to the left while allowing text to wrap around them.
right
The element floats to the right side of its containing block. This is useful for aligning elements such as images to the right while allowing text to wrap around them.
none
The element does not float. This is the default value, meaning the element remains in the normal flow of the document.
inline-start
The element floats to the start side of its containing block. For left-to-right (ltr) scripts, this is the left side, and for right-to-left (rtl) scripts, this is the right side.
inline-end
The element floats to the end side of its containing block. For left-to-right (ltr) scripts, this is the right side, and for right-to-left (rtl) scripts, this is the left side.
Global Values
inherit: The element inherits thefloatvalue from its parent.initial: The element uses the initial value for the property (none).revert: The element uses the value from the browser’s default stylesheet.revert-layer: The element uses the value from the next outer CSS layer’s stylesheet.unset: The element uses the inherited value if it inherits, otherwise it uses the initial value.
Example
<!DOCTYPE html><html><head><style>.left {  float: left;  background-color: lightblue;  width: 50px;  height: 50px;}
.right {  float: right;  background-color: lightcoral;  width: 50px;  height: 50px;}
.none {  float: none;  background-color: lightgreen;  width: 50px;  height: 50px;}</style></head><body>
<div class="left">Left</div><div class="right">Right</div><div class="none">None</div><p>This is some text that will wrap around the floated elements.</p>
</body></html>
In this example, the left and right classes float their respective elements to the left and right sides of the container, while the none class keeps the element in the normal flow of the document.
How Floated Elements Are Positioned
When an element is floated using the float property, it is taken out of the normal flow of the document but still affects the layout of its container and surrounding elements. Understanding how floated elements are positioned is crucial for creating effective and visually appealing web designs.
Positioning within the Container
Floated elements are shifted to the left or right side of their containing block until they touch the edge of the container or another floated element. This behavior allows for flexible and dynamic layouts where elements can be positioned relative to each other and the container.
Wrapping Around Text and Inline Elements
One of the key features of floated elements is their ability to allow text and inline elements to wrap around them. This is particularly useful for creating layouts where images or other elements are integrated with text content. For example, an image floated to the left will have text wrapping around its right side, creating a cohesive and visually appealing design.
Example of Floated Elements
<!DOCTYPE html><html><head><style>section {  border: 1px solid blue;  width: 100%;  float: left;  box-sizing: border-box;}
div {  margin: 5px;  width: 50px;  height: 150px;}
.left {  float: left;  background: pink;}
.right {  float: right;  background: cyan;}</style></head><body>
<section>  <div class="left">1</div>  <div class="left">2</div>  <div class="right">3</div>  <p>    Lorem ipsum dolor sit amet, consectetur adipiscing elit. Morbi tristique    sapien ac erat tincidunt, sit amet dignissim lectus vulputate. Donec id    iaculis velit. Aliquam vel malesuada erat. Praesent non magna ac massa    aliquet tincidunt vel in massa. Phasellus feugiat est vel leo finibus    congue.  </p></section>
</body></html>
In this example:
- Three colored squares are floated within a section.
- Two squares are floated to the left, and one is floated to the right.
- The second left-floated square is placed to the right of the first, illustrating how floated elements stack next to each other.
- The paragraph text wraps around the floated squares, demonstrating how text and inline elements interact with floated elements.
Stack and Wrap Behavior
Floated elements will continue to stack horizontally until they fill the containing box. Once the container is filled, additional floated elements will wrap to the next line. This stacking and wrapping behavior is particularly useful for creating grid-like layouts or responsive designs that adapt to different screen sizes.
Ensuring Proper Containment
To ensure that a container properly encompasses its floated children, you might need to use techniques such as setting the container to width: 100% and floating it, or using the clear property to force elements below the floated elements. This ensures that the container takes up the necessary space and layout is maintained.
Clearing Floats
Sometimes, you may need to force an element to move below floated elements to maintain a clean and organized layout. This is where the concept of “clearing floats” comes into play. Clearing floats ensures that an element starts on a new line, preventing it from being affected by any floated elements above it.
Why Clear Floats?
Clearing floats is essential for scenarios where you want to ensure that certain elements, such as headings, paragraphs, or containers, start on a new line without interference from floated elements. This helps in maintaining a structured and visually appealing layout, especially when dealing with complex designs.
The clear Property
The clear property in CSS is used to clear floats. It specifies whether an element should be moved below floated elements on its left side, right side, or both sides.
Syntax
clear: none;clear: left;clear: right;clear: both;clear: inline-start;clear: inline-end;Values
none
The element does not clear any floats. This is the default value.
left
The element is moved below any floated elements on its left side.
right
The element is moved below any floated elements on its right side.
both
The element is moved below any floated elements on both its left and right sides.
inline-start
The element is moved below any floated elements starting from the inline start side (left for ltr scripts, right for rtl scripts).
inline-end
The element is moved below any floated elements ending at the inline end side (right for ltr scripts, left for rtl scripts).
Example
<!DOCTYPE html><html><head><style>.container {  border: 1px solid blue;  width: 100%;  float: left;  box-sizing: border-box;}
.float-left {  float: left;  background: lightblue;  width: 50px;  height: 50px;  margin: 5px;}
.float-right {  float: right;  background: lightcoral;  width: 50px;  height: 50px;  margin: 5px;}
.clear {  clear: both;  background: lightgreen;  padding: 10px;}</style></head><body>
<div class="container">  <div class="float-left">Left</div>  <div class="float-right">Right</div>  <p>This text will wrap around the floated elements.</p>  <div class="clear">This element is cleared below the floats.</div></div>
</body></html>
In this example:
- Two elements are floated to the left and right within a container.
- The paragraph text wraps around the floated elements.
- The
.clearclass is applied to an element that needs to be cleared below the floated elements. This element usesclear: bothto ensure it starts on a new line, not affected by the floated elements above it.
Practical Applications
Clearing floats is particularly useful in scenarios such as:
- Headings and Paragraphs: Ensuring headings start on a new line after a floated image.
- Footers: Making sure footers are positioned correctly at the bottom of a page without being affected by floated elements.
- Containers: Ensuring containers properly encompass their floated children and maintain the layout structure.
Examples and Use Cases
Understanding the float property through practical examples is a great way to grasp its functionalities and applications. Here are some common use cases and examples to demonstrate how the float property can enhance your web designs.
Example 1: Floating Images with Text
One of the most common use cases for the float property is wrapping text around images. This technique is often used in blog posts, articles, and other content-rich pages to create a visually appealing layout.
HTML
<!DOCTYPE html><html><head><style>img {  float: left;  margin-right: 10px;}</style></head><body>
<p>  <img src="( WebsiteUrl )" alt="Example Image" width="100" height="100">  Lorem ipsum dolor sit amet, consectetur adipiscing elit. Morbi tristique  sapien ac erat tincidunt, sit amet dignissim lectus vulputate. Donec id  iaculis velit. Aliquam vel malesuada erat. Praesent non magna ac massa  aliquet tincidunt vel in massa. Phasellus feugiat est vel leo finibus  congue.</p>
</body></html>
Explanation
- The
imgelement is floated to the left, allowing the text to wrap around it. - The
margin-rightproperty adds space between the image and the text.
Example 2: Creating a Simple Layout with Floats
Floats can also be used to create simple layouts, such as sidebars and main content areas. This is a fundamental technique for building basic webpage structures.
HTML
<!DOCTYPE html><html><head><style>.sidebar {  float: left;  width: 20%;  background-color: lightgray;  padding: 10px;}
.main-content {  float: left;  width: 80%;  background-color: lightblue;  padding: 10px;}
.clearfix {  clear: both;}</style></head><body>
<div class="sidebar">  <p>This is the sidebar.</p></div>
<div class="main-content">  <p>This is the main content area.</p></div>
<div class="clearfix"></div>
</body></html>
Explanation
- The
.sidebaris floated to the left and takes up 20% of the width. - The
.main-contentis also floated to the left and takes up 80% of the width. - The
.clearfixclass uses theclear: both;property to ensure that any subsequent elements start on a new line below the floated elements.
Example 3: Floating Images with Text
This example demonstrates how to float images within a text block, allowing the text to wrap around the images.
HTML
<!DOCTYPE html><html><head><style>img {  float: left;  margin-right: 10px;}</style></head><body>
<p>  <img src="( WebsiteUrl )" alt="Example Image" width="100" height="100">  Lorem ipsum dolor sit amet, consectetur adipiscing elit. Morbi tristique  sapien ac erat tincidunt, sit amet dignissim lectus vulputate. Donec id  iaculis velit. Aliquam vel malesuada erat. Praesent non magna ac massa  aliquet tincidunt vel in massa. Phasellus feugiat est vel leo finibus  congue.</p>
</body></html>
Explanation
- The
imgelement is floated to the left, allowing the text to wrap around it. - The
margin-rightproperty adds space between the image and the text.
Example 4: Creating a Grid Layout with Floats
Floats can be used to create simple grid layouts, useful for displaying multiple items in a structured manner.
HTML
<!DOCTYPE html><html><head><style>.grid-item {  float: left;  width: 20%;  margin: 10px;  background-color: lightgray;  padding: 20px;  box-sizing: border-box;}
.clearfix {  clear: both;}</style></head><body>
<div class="grid-item">Item 1</div><div class="grid-item">Item 2</div><div class="grid-item">Item 3</div><div class="grid-item">Item 4</div><div class="grid-item">Item 5</div>
<div class="clearfix"></div>
</body></html>
Explanation
- Each
.grid-itemis floated to the left and takes up 20% of the width. - The
.clearfixclass ensures that any subsequent elements start on a new line below the floated elements.
Example 5: Floating Elements for Navigation
Floats can be used to create navigation bars where elements are aligned to the left or right.
HTML
<!DOCTYPE html><html><head><style>.nav-bar {  border: 1px solid blue;  padding: 10px;  overflow: hidden; /* Clear floats within the container */}
.nav-item {  float: left;  margin-right: 10px;}
.nav-item.right {  float: right;}</style></head><body>
<div class="nav-bar">  <div class="nav-item">Home</div>  <div class="nav-item">About</div>  <div class="nav-item">Contact</div>  <div class="nav-item right">Login</div></div>
</body></html>
Explanation
- The
.nav-itemelements are floated to the left. - The
.nav-item.rightelement is floated to the right. - The
overflow: hidden;property on the.nav-barensures that the container properly encompasses its floated children.
By understanding these examples and use cases, you can effectively utilize the float property to create dynamic and visually appealing web designs.
Related CSS Properties
The float property is powerful, but it’s just one of many CSS properties that help control layout and appearance. Understanding related properties can enhance your web designs. Here are some key properties often used with float.
clear
The clear property controls the behavior of floated elements. It specifies whether an element should be moved below floated elements on its left, right, or both sides. This is crucial for ensuring certain elements start on a new line and aren’t affected by floated elements above them.
Syntax
clear: none;clear: left;clear: right;clear: both;clear: inline-start;clear: inline-end;Values
none: The element does not clear any floats.left: Moves the element below floated elements on its left.right: Moves the element below floated elements on its right.both: Moves the element below floated elements on both sides.inline-start: Moves the element below floated elements starting from the inline start side.inline-end: Moves the element below floated elements ending at the inline end side.
display
The display property specifies how an element is rendered. It’s crucial for layout and appearance, and the float property modifies its computed value in some cases.
Syntax
display: block;display: inline;display: inline-block;display: flex;display: grid;display: none;Values
block: Generates a block box.inline: Generates one or more inline boxes.inline-block: Generates a block container box.flex: Behaves like a block-level element using the flexbox model.grid: Behaves like a block-level element using the grid model.none: The element is not displayed.
position
The position property specifies the positioning scheme for an element. It’s used to create complex layouts and control element positions.
Syntax
position: static;position: relative;position: absolute;position: fixed;position: sticky;Values
static: Positioned according to normal document flow (default).relative: Positioned relative to its normal position.absolute: Positioned relative to the nearest positioned ancestor.fixed: Positioned relative to the viewport.sticky: Positioned based on the user’s scroll position.
overflow
The overflow property specifies what happens when content is too large to fit within an element. It’s often used with float to control the appearance of floated elements.
Syntax
overflow: visible;overflow: hidden;overflow: scroll;overflow: auto;Values
visible: Content is not clipped and may be rendered outside the box (default).hidden: Content is clipped, and no scrollbars are provided.scroll: Content is clipped, and scrollbars are provided.auto: Content is clipped, and scrollbars are provided only when necessary.
margin and padding
The margin and padding properties control spacing around and inside elements, respectively. They’re often used with float to create well-structured layouts.
Syntax
margin: 10px;padding: 10px;Values
margin: Specifies space outside the element’s border.padding: Specifies space inside the element’s border.
Summary
By combining the float property with properties like clear, display, position, overflow, margin, and padding, you can create complex and visually appealing layouts. Mastering these properties will make you a more versatile and effective web developer, capable of creating professional and user-friendly websites.
Specifications and Browser Compatibility
The float property is widely supported across all major browsers. Understanding its specifications and compatibility ensures your web designs work consistently across different platforms and devices.
Specifications
The float property is defined in:
- CSS 2.2 Specification: Outlines basic functionality and syntax.
- CSS Logical Properties and Values Level 1: Introduces logical properties for flexible, responsive designs.
Browser Compatibility
The float property is supported in:
- Chrome: Since version 1.0 (released December 2008).
- Firefox: Since version 1.0 (released November 2004).
- Internet Explorer/Edge: Since version 4.0 (released September 1997).
- Opera: Since version 7.0 (released January 2003).
- Safari: Since version 1.0 (released June 2003).
Compatibility Notes
- JavaScript Access: In modern browsers, access
floatdirectly. In older browsers, usecssFloat. - Absolute Positioning:
floatdoes not work with absolutely positioned elements.
Example
<!DOCTYPE html><html><head><style>.float-left {  float: left;  background-color: lightblue;  width: 50px;  height: 50px;  margin: 5px;}
.float-right {  float: right;  background-color: lightcoral;  width: 50px;  height: 50px;  margin: 5px;}
.clear {  clear: both;  background: lightgreen;  padding: 10px;}</style></head><body>
<div class="float-left">Left</div><div class="float-right">Right</div><p>This text will wrap around the floated elements.</p><div class="clear">This element is cleared below the floats.</div>
</body></html>
In this example, .float-left and .float-right float elements to the left and right, respectively. The .clear class ensures the subsequent element starts on a new line. This example works consistently across all major browsers.
By understanding the float property and related CSS properties, you can create professional and user-friendly websites that work seamlessly across different platforms.
 สร้างเว็บไซต์ 1 เว็บ ต้องใช้งบเท่าไหร่? เจาะลึกทุกองค์ประกอบ website development cost อยากสร้างเว็บไซต์แต่ไม่มั่นใจในเรื่องของงบประมาณ อ่านสรุปเจาะลึกตั้งแต่ดีไซน์, ฟังก์ชัน และการดูแล พร้อมตัวอย่างงบจริงจาก Till it’s done ที่แผนชัด งบไม่บานปลายแน่นอน
  Next.js สอน 14 ขั้นตอนเบื้องต้น: สร้างโปรเจกต์แรกใน 30 นาที เริ่มต้นกับ Next.js ใน 14 ขั้นตอนเพียงแค่ 30 นาที พร้อม SSR/SSG และ API Routes ด้วยตัวอย่างโค้ดง่าย ๆ อ่านต่อเพื่อสร้างโปรเจ็กต์แรกได้ทันทีที่นี่
  วิธีสมัคร Apple Developer Account เพื่อนำแอปขึ้น App Store ทีละขั้นตอน อยากปล่อยแอปบน App Store ระดับโลก มาอ่านคู่มือสมัคร Apple Developer Account พร้อมเคล็ดลับ TestFlight และวิธีอัปโหลดที่ง่ายในบทความเดียวนี้ได้เลย
  TypeScript Interface คืออะไร? อธิบายพร้อมวิธีใช้และข้อแตกต่างจาก Type เรียนรู้วิธีใช้ TypeScript Interface เพื่อสร้างโครงสร้างข้อมูลที่ปลอดภัยและเข้าใจง่าย พร้อมเปรียบเทียบข้อดีข้อแตกต่างกับ Type ที่คุณต้องรู้ ถูกรวมเอาไว้ในบทความนี้แล้ว
  Material-UI (MUI) คืออะไร อยากสร้าง UI สวยงามและเป็นมืออาชีพในเวลาอันรวดเร็วใช่ไหม มาทำความรู้จักกับ Material-UI (MUI) ที่ช่วยให้คุณพัฒนาแอปพลิเคชันบน React ได้ง่ายและดูดีในทุกอุปกรณ์
  เปรียบเทียบ 3 วิธีติดตั้ง install node js บน Ubuntu: NVM vs NodeSource vs Official Repo แบบไหนดีที่สุด? เรียนรู้วิธีติดตั้ง Node.js บน Ubuntu ด้วย NVM, NodeSource หรือ Official Repo เลือกวิธีที่เหมาะกับความต้องการของคุณ พร้อมเปรียบเทียบ เพื่อการพัฒนาที่มีประสิทธิภาพ!
 Talk with CEO
We'll be right here with you every step of the way.
We'll be here, prepared to commence this promising collaboration.
Whether you're curious about features, warranties, or shopping policies, we provide comprehensive answers to assist you.


