
- Services
- Case Studies
- Technologies
- NextJs development
- Flutter development
- NodeJs development
- ReactJs development
- About
- Contact
- Tools
- Blogs
- FAQ
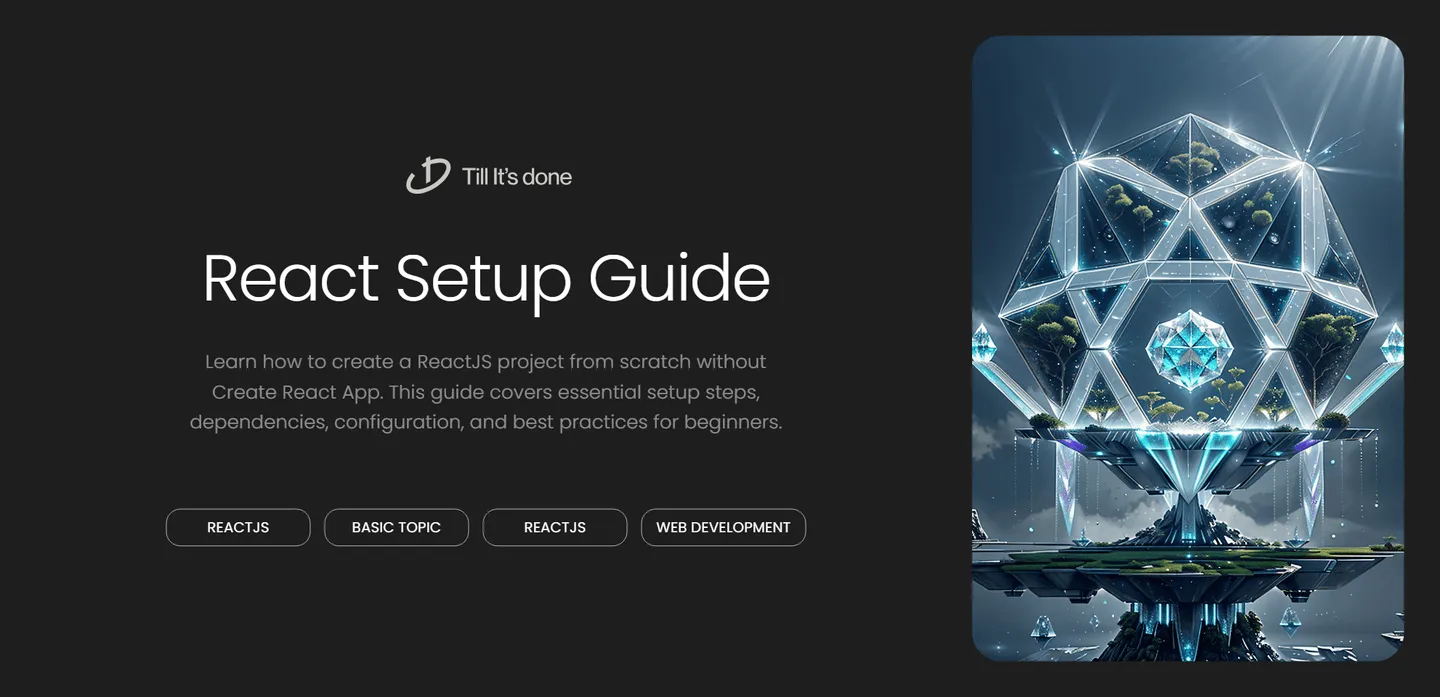
Setting Up a ReactJS Project from Scratch
This guide covers essential setup steps, dependencies, configuration, and best practices for beginners.
Setting Up a ReactJS Project from Scratch: A Beginner’s Guide

Getting started with ReactJS can feel overwhelming at first, but I’m here to break it down into simple, manageable steps. Today, I’ll walk you through creating a React project from the ground up, without using Create React App. This hands-on approach will give you a deeper understanding of how everything fits together.
Prerequisites
Before we dive in, make sure you have:
- Node.js installed on your computer
- A code editor (I personally love VS Code)
- Basic knowledge of JavaScript
- Terminal/Command Prompt familiarity

Step-by-Step Setup Process
1. Creating Your Project Directory
First, let’s create a new directory for our project and navigate into it. Open your terminal and run:
mkdir my-react-projectcd my-react-project2. Initializing the Project
Initialize your project with npm:
npm init -yThis creates a package.json file with default values. Don’t worry - we can modify these later!
3. Installing Essential Dependencies
Now for the exciting part - installing React and its core dependencies:
npm install react react-domFor development dependencies:
npm install --save-dev @babel/core @babel/preset-react @babel/preset-envnpm install --save-dev webpack webpack-cli webpack-dev-servernpm install --save-dev babel-loader html-webpack-plugin
4. Setting Up Configuration Files
Create a .babelrc file:
{ "presets": ["@babel/preset-react", "@babel/preset-env"]}Create webpack.config.js:
const HtmlWebpackPlugin = require('html-webpack-plugin');const path = require('path');
module.exports = {  entry: './src/index.js',  output: {    path: path.resolve(__dirname, 'dist'),    filename: 'bundle.js',  },  module: {    rules: [      {        test: /\.(js|jsx)$/,        exclude: /node_modules/,        use: 'babel-loader',      },    ],  },  plugins: [    new HtmlWebpackPlugin({      template: './src/index.html',    }),  ],  devServer: {    static: {      directory: path.join(__dirname, 'public'),    },    port: 3000,    open: true,  },};
5. Creating Source Files
Create a src folder with these essential files:
src/index.html:
<!DOCTYPE html><html lang="en"><head> <meta charset="UTF-8"> <meta name="viewport" content="width=device-width, initial-scale=1.0"> <title>React From Scratch</title></head><body> <div id="root"></div></body></html>src/index.js:
import React from 'react';import ReactDOM from 'react-dom/client';import App from './App';
const root = ReactDOM.createRoot(document.getElementById('root'));root.render( <React.StrictMode> <App /> </React.StrictMode>);src/App.js:
import React from 'react';
function App() {  return (    <div>      <h1>Hello from React!</h1>    </div>  );}
export default App;
6. Adding NPM Scripts
Update your package.json with these scripts:
{ "scripts": { "start": "webpack serve --mode development", "build": "webpack --mode production" }}7. Running Your Project
Finally, start your development server:
npm startVisit http://localhost:3000 to see your React app in action!

And there you have it! You’ve successfully set up a React project from scratch. This foundation gives you complete control over your build process and helps you understand what’s happening under the hood. Remember, while this setup works great for learning, for larger projects you might want to consider using Create React App or Next.js for a more feature-rich development environment.
Happy coding! 🚀
 สร้างเว็บไซต์ 1 เว็บ ต้องใช้งบเท่าไหร่? เจาะลึกทุกองค์ประกอบ website development cost อยากสร้างเว็บไซต์แต่ไม่มั่นใจในเรื่องของงบประมาณ อ่านสรุปเจาะลึกตั้งแต่ดีไซน์, ฟังก์ชัน และการดูแล พร้อมตัวอย่างงบจริงจาก Till it’s done ที่แผนชัด งบไม่บานปลายแน่นอน
  Next.js สอน 14 ขั้นตอนเบื้องต้น: สร้างโปรเจกต์แรกใน 30 นาที เริ่มต้นกับ Next.js ใน 14 ขั้นตอนเพียงแค่ 30 นาที พร้อม SSR/SSG และ API Routes ด้วยตัวอย่างโค้ดง่าย ๆ อ่านต่อเพื่อสร้างโปรเจ็กต์แรกได้ทันทีที่นี่
  วิธีสมัคร Apple Developer Account เพื่อนำแอปขึ้น App Store ทีละขั้นตอน อยากปล่อยแอปบน App Store ระดับโลก มาอ่านคู่มือสมัคร Apple Developer Account พร้อมเคล็ดลับ TestFlight และวิธีอัปโหลดที่ง่ายในบทความเดียวนี้ได้เลย
  TypeScript Interface คืออะไร? อธิบายพร้อมวิธีใช้และข้อแตกต่างจาก Type เรียนรู้วิธีใช้ TypeScript Interface เพื่อสร้างโครงสร้างข้อมูลที่ปลอดภัยและเข้าใจง่าย พร้อมเปรียบเทียบข้อดีข้อแตกต่างกับ Type ที่คุณต้องรู้ ถูกรวมเอาไว้ในบทความนี้แล้ว
  Material-UI (MUI) คืออะไร อยากสร้าง UI สวยงามและเป็นมืออาชีพในเวลาอันรวดเร็วใช่ไหม มาทำความรู้จักกับ Material-UI (MUI) ที่ช่วยให้คุณพัฒนาแอปพลิเคชันบน React ได้ง่ายและดูดีในทุกอุปกรณ์
  เปรียบเทียบ 3 วิธีติดตั้ง install node js บน Ubuntu: NVM vs NodeSource vs Official Repo แบบไหนดีที่สุด? เรียนรู้วิธีติดตั้ง Node.js บน Ubuntu ด้วย NVM, NodeSource หรือ Official Repo เลือกวิธีที่เหมาะกับความต้องการของคุณ พร้อมเปรียบเทียบ เพื่อการพัฒนาที่มีประสิทธิภาพ!
 พูดคุยกับซีอีโอ
 Flutter
  Nextjs
  TailwindCSS
  Typescript Golang AstroJs Jest Website development th Mobile application th Reactjs th Nextjs th Flutter th Software house th Nodejs th Typescript th
  CSS
CSS We'll be right here with you every step of the way.
We'll be here, prepared to commence this promising collaboration.

Whether you're curious about features, warranties, or shopping policies, we provide comprehensive answers to assist you.