
- Services
- Case Studies
- Technologies
- NextJs development
- Flutter development
- NodeJs development
- ReactJs development
- About
- Contact
- Tools
- Blogs
- FAQ
Deep Dive: Flutter Render Objects & Painting
Learn how to optimize performance and create stunning visual effects in your Flutter applications.
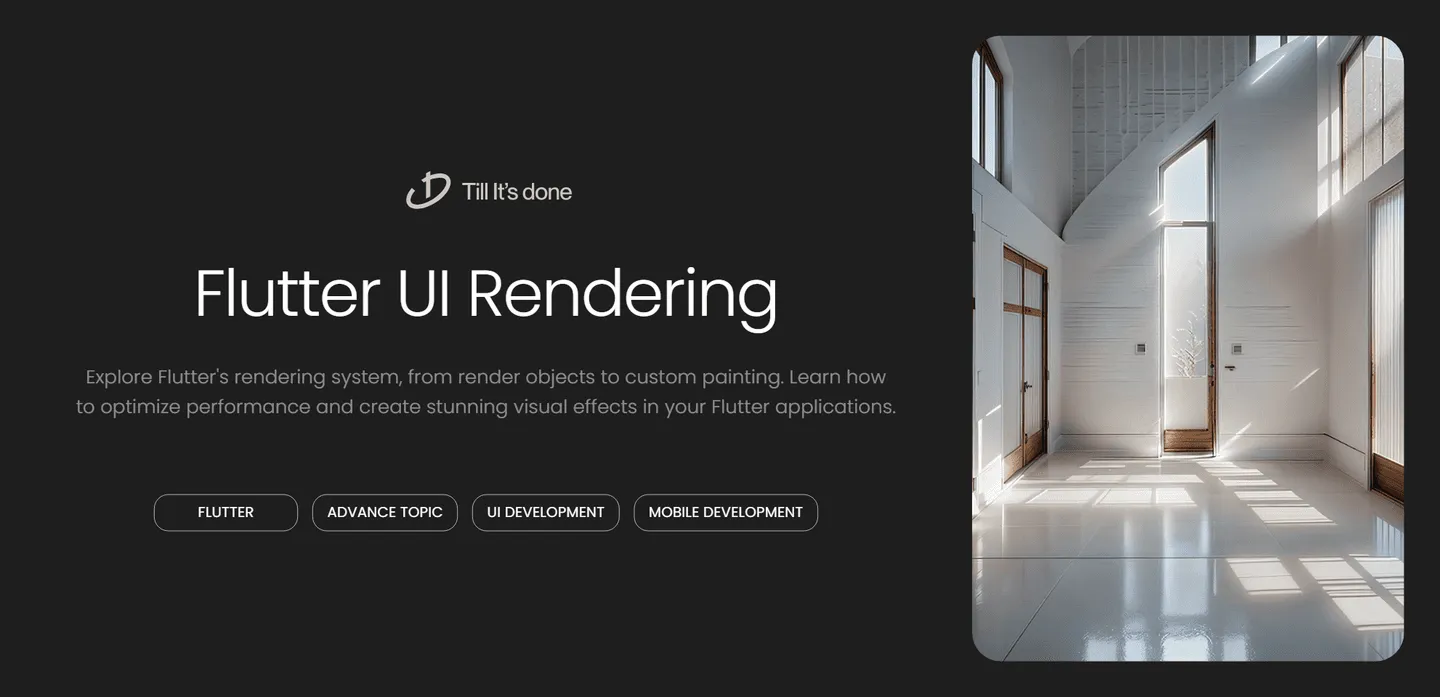

Deep Dive into Flutter’s Render Objects and Custom Painting
Flutter’s rendering system is like a well-orchestrated symphony, where every visual element on your screen is carefully painted and positioned. Today, we’re going to demystify the fascinating world of Flutter’s render objects and custom painting - the backbone of Flutter’s powerful UI capabilities.

Understanding Render Objects
At its core, Flutter’s rendering system is built on render objects - the fundamental building blocks that determine how elements are laid out and painted on the screen. Think of them as the artists behind every pixel you see in your Flutter app.
Every widget in Flutter has an associated render object that handles three crucial responsibilities:
- Layout: Determining the size and position of elements
- Painting: Drawing the actual pixels on the screen
- Hit testing: Figuring out which element was tapped or interacted with
The Render Tree
Unlike the widget tree that we’re all familiar with, the render tree operates behind the scenes. When you create widgets, Flutter automatically manages a parallel tree of render objects. These render objects persist between frames, making the rendering process more efficient.
Let’s break down a simple example: When you create a Container widget, Flutter creates a RenderDecoratedBox under the hood. This render object knows exactly how to paint backgrounds, handle borders, and manage decorations.

Custom Painting in Flutter
Custom painting opens up a world of possibilities for creating unique visual effects. The CustomPaint widget and CustomPainter class are your gateway to drawing anything you can imagine - from simple shapes to complex animations.
Here’s what makes custom painting powerful:
- Direct access to the canvas
- Fine-grained control over drawing operations
- Ability to create smooth animations
- Optimal performance through efficient repainting
Optimizing Custom Paint
When working with custom paint, remember that performance is key. Always use shouldRepaint() wisely to prevent unnecessary redraws. Consider using RepaintBoundary when you need to isolate repaints to specific sections of your UI.
Advanced Techniques
One fascinating aspect of custom painting is the ability to create complex effects through layering. By combining multiple CustomPainter instances or using blend modes, you can achieve sophisticated visual results that would be impossible with standard widgets.
Don’t forget about clipping and transformations. These powerful tools allow you to mask your paintings and apply perspective effects, opening up possibilities for creating immersive UI experiences.
Best Practices and Common Pitfalls
Remember these golden rules when working with render objects and custom painting:
- Keep your custom painters focused and single-purposed
- Use the RepaintBoundary widget strategically
- Cache complex calculations where possible
- Profile your app’s rendering performance regularly
The magic of Flutter’s rendering system lies in its flexibility and power. Whether you’re creating simple UI elements or complex visualizations, understanding render objects and custom painting gives you the tools to bring your creative visions to life.

 สร้างเว็บไซต์ 1 เว็บ ต้องใช้งบเท่าไหร่? เจาะลึกทุกองค์ประกอบ website development cost อยากสร้างเว็บไซต์แต่ไม่มั่นใจในเรื่องของงบประมาณ อ่านสรุปเจาะลึกตั้งแต่ดีไซน์, ฟังก์ชัน และการดูแล พร้อมตัวอย่างงบจริงจาก Till it’s done ที่แผนชัด งบไม่บานปลายแน่นอน
  Next.js สอน 14 ขั้นตอนเบื้องต้น: สร้างโปรเจกต์แรกใน 30 นาที เริ่มต้นกับ Next.js ใน 14 ขั้นตอนเพียงแค่ 30 นาที พร้อม SSR/SSG และ API Routes ด้วยตัวอย่างโค้ดง่าย ๆ อ่านต่อเพื่อสร้างโปรเจ็กต์แรกได้ทันทีที่นี่
  วิธีสมัคร Apple Developer Account เพื่อนำแอปขึ้น App Store ทีละขั้นตอน อยากปล่อยแอปบน App Store ระดับโลก มาอ่านคู่มือสมัคร Apple Developer Account พร้อมเคล็ดลับ TestFlight และวิธีอัปโหลดที่ง่ายในบทความเดียวนี้ได้เลย
  TypeScript Interface คืออะไร? อธิบายพร้อมวิธีใช้และข้อแตกต่างจาก Type เรียนรู้วิธีใช้ TypeScript Interface เพื่อสร้างโครงสร้างข้อมูลที่ปลอดภัยและเข้าใจง่าย พร้อมเปรียบเทียบข้อดีข้อแตกต่างกับ Type ที่คุณต้องรู้ ถูกรวมเอาไว้ในบทความนี้แล้ว
  Material-UI (MUI) คืออะไร อยากสร้าง UI สวยงามและเป็นมืออาชีพในเวลาอันรวดเร็วใช่ไหม มาทำความรู้จักกับ Material-UI (MUI) ที่ช่วยให้คุณพัฒนาแอปพลิเคชันบน React ได้ง่ายและดูดีในทุกอุปกรณ์
  เปรียบเทียบ 3 วิธีติดตั้ง install node js บน Ubuntu: NVM vs NodeSource vs Official Repo แบบไหนดีที่สุด? เรียนรู้วิธีติดตั้ง Node.js บน Ubuntu ด้วย NVM, NodeSource หรือ Official Repo เลือกวิธีที่เหมาะกับความต้องการของคุณ พร้อมเปรียบเทียบ เพื่อการพัฒนาที่มีประสิทธิภาพ!
พูดคุยกับซีอีโอ
Flutter  Nextjs
  TailwindCSS
  Typescript Golang AstroJs Jest Website development th Mobile application th Reactjs th Nextjs th Flutter th Software house th Nodejs th Typescript th
  CSS
CSS We'll be right here with you every step of the way.
We'll be here, prepared to commence this promising collaboration.

Whether you're curious about features, warranties, or shopping policies, we provide comprehensive answers to assist you.